S’mores Pie

About a million years ago I spent the Summer working in an American Summer camp (Camp Danbee).

It was a total culture shock, we worked like dogs, had some great craic and got to try food that was new to wee girl from Belfast.

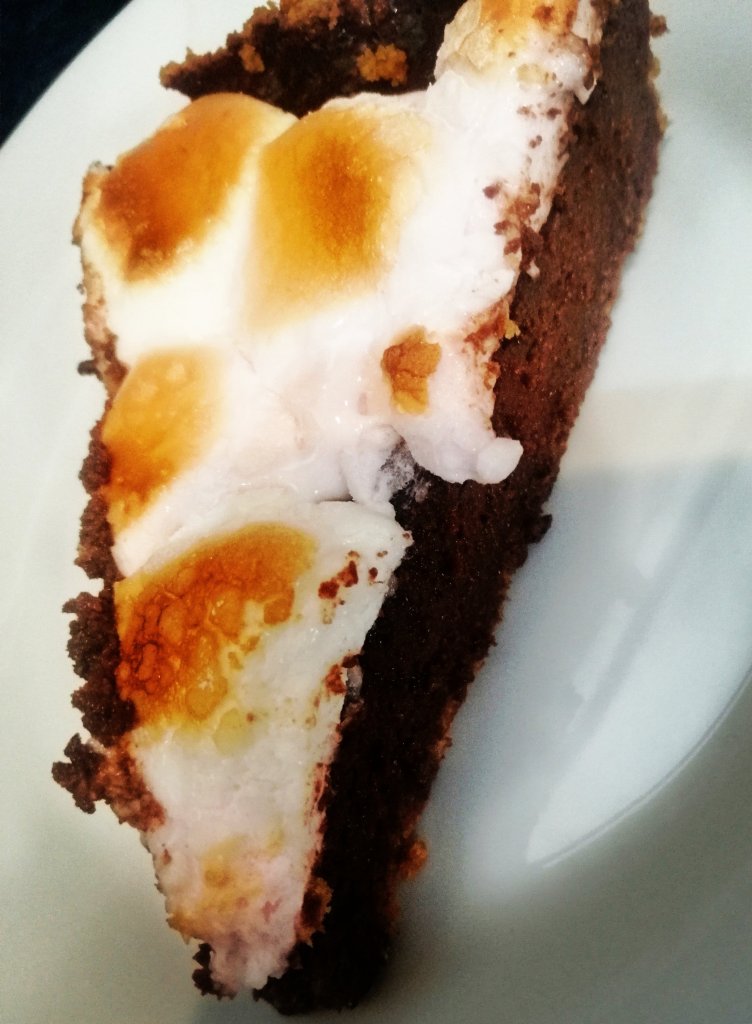
One of my favourite things were S’mores. Digestive biscuits/Graham crackers sandwiching chocolate and a toasted marshmallow. How could you not love this.

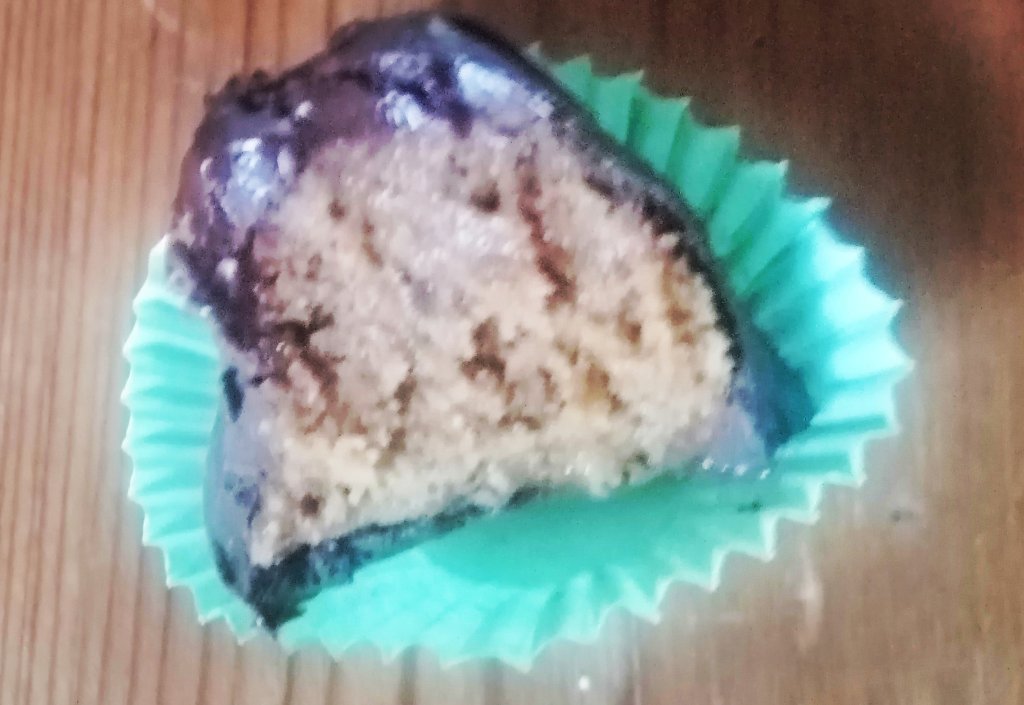
They popped into my head and I decided to try a more grown up version. This pie has a biscuit crumb base, rich chocolate filling and toasted marshmallow topping. Yes, it’s incredibley rich, but a little piece for a special occasion will do no harm.

Serves 8

Ingredients

For the base

12 Digestive biscuits (bashed to fine crumbs, either in a food precessor or in a bag with something heavy)

100 Grams Butter (melted and allowed to cool)

For the filling

300 ml Double cream

225 Grams Chocolate (I used half dark and had milk chocolate, but into small pieces)

3 Eggs (whisked)

Topping

200 Grams Marshmallows (mini marshmallows are best, I couldn’t find them so cut normal one in half)

Method

  • Lightly grease a 9 in (loose bottomed pie dish)
  • Preheat oven to 180 degrees
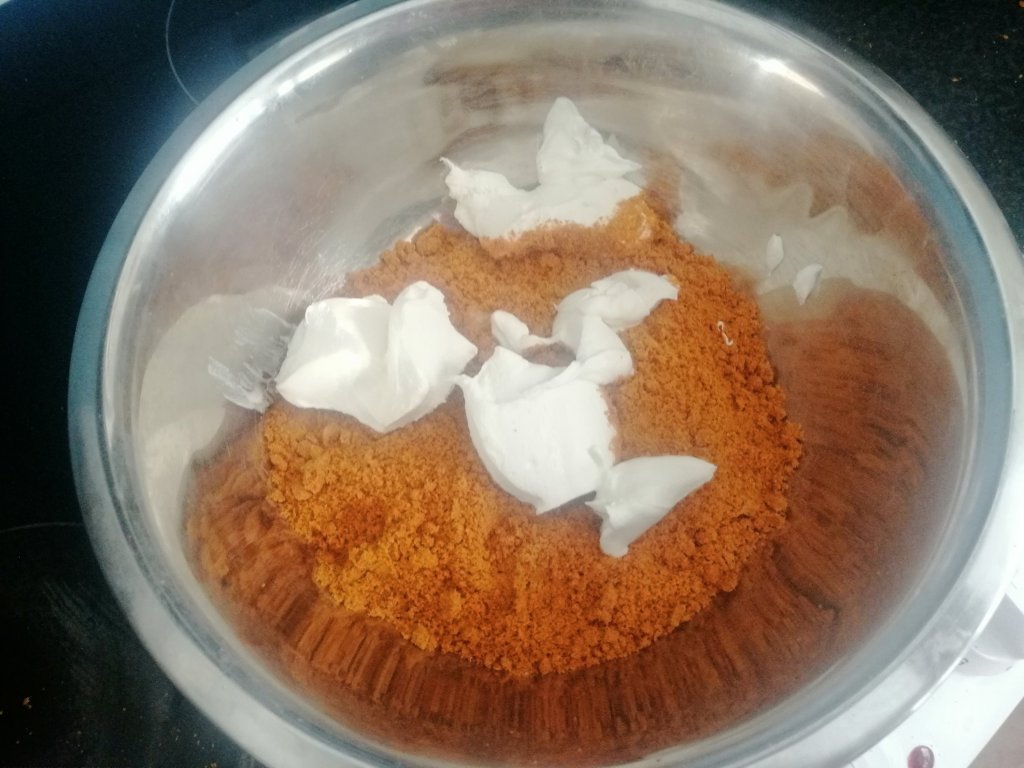
  • Mix the biscuit crumbs and melted butter together and press around the sides and base of your pie tin (push with the back of a spoon to make sure it’s firmly packed in
  • Bake for 10 minutes and allow to cool
  • Put the chopped chocolate into a large bowl. Heat the cream until just before boiling and then pour over the chocolate and whisk until the chocolate has melted.
  • Allow to cool for 5 minutes (if you don’t allow it to cool a little first the eggs with cook as soon as it hits the mix). Whisk in the eggs quite thoroughly and bake for 25 minutes, before removing from the oven and allow to cool
  • Spread the marshmallows across the top of the pie. If you have one of those chefie little blow torches you can use this to toast the marshmallows. If not put the pie under a hot grill and watch carefully so that it doesn’t burn

Rose and Raspberry Meringues

Barbie fever has taken over the world. I was more of a tomboy and never really got into Barbie, but it did give the chance to make something cute and pretty.

These may look “rustic”, but if you can be bothered with the faff of a piping bag, you can make the meringue nests a little more uniform, and the cream in top look fancier. They can be kept undecorated in an airtight container for 3-4 days. If you’re entertaining this is useful so that you can make these on advance and assemble at the last minute.

I used the tiniest amount of rose water in the cream (less is definitely more with this stuff), but if it’s not your thing it’s fine to leave it out. Just to be whimsical I used some pink food colouring in the meringue and some dried rose petals just be fancy, but these will still taste great with out the girly touches.

Makes 6-8 meringue nests

150 Grams Sugar

3 Egg whites

Pink food colouring (optional, ideally use a gel food colouring, I added a tiny bit but can add according to how strong you want the colour to be)

For topping

300 ml Double or whipping cream

50 Grams Icing sugar

1/4 Tsp Rose water (optional)

200 Grams Raspberries

1 Tbsp Dried rose petals (optional)

Method

  • Preheat your oven to 110 degree (Celsius)
  • Line a baking sheet with baking parchment, and draw 6cm circles as a guide for your meringue nests . I have a silicon baking sheet with circles already drawn on which is really handy
  • Using a stand mixer or electric whisk, whip your egg whites into soft peaks
  • Continue whisking (if you’re using food colouring add it now) and gradually add the sugar to the egg whites until the meringue is stiff and glossy
  • Using the circles on your baking sheet as a guide, spoon or pipe the meringue into the circles
  • Bake for 1 hour 45 minutes and then switch the oven off and leave the meringues on the oven while it cools down
  • When the meringues are completely cold, whip the cream, icing sugar and rose water together until it forms stiff peaks
  • Spoon or pipe on top of the meringues and then top with fresh raspberries and sprinkle with rose petals for a little bit of fanciness

Biscoff Bon Bons (only 3 ingredients)

I love a simple recipe, and if it doesn’t require a ton of ingredients even better.

These make a nice gift, and are fairly easy to make.  You need to reduce the Biscoff biscuits to fine crumbs.  You can do this by putting them into a plastic bag bashing the living daylights out of them (great as stress relief) . An easier way is to blitz them in a food precessor until you have fine crumbs, (you might have to do this in two batches). You can halve the recipe if you want to make a smaller batch.

If you want to make these a little bit more grown up can also add a tablespoon or two of your favourite booze.

Makes between 36-40

500 Grams (reduced to very fine crumbs)

250 Grams Cream cheese

300 Grams Dark chocolate

Method

  • Add the cookie crumbs and cream cheese to a large bowl and mix until thoroughly combined
  • Line or lightly grease a try. Take a small teaspoon of the mixture roll it into a ball about the size of a cherry, and place on the tray. I usually keep a bowl of water beside me when doing this, as its easier to do if your hands are slightly wet. Continue making small balls of the mixture and put on the prepared tray until it has used up.
  • Put the tray in the fridge and chill for 1 hour
  • Break the chocolate into small pieces and place in a microwave proof dish. Microwave for 30 seconds at a time (stirring in between each blast so it doesn’t burn) until the chocolate has melted
  • Using 2 forks to lift the bon bons, dip into the chocolate and place back on the tray. Repeat until all the bon bons have been coated. Allow them to set for an hour in the fridge then transfer to an air tight container, or place in tiny paper cups if you’re feeling fancy