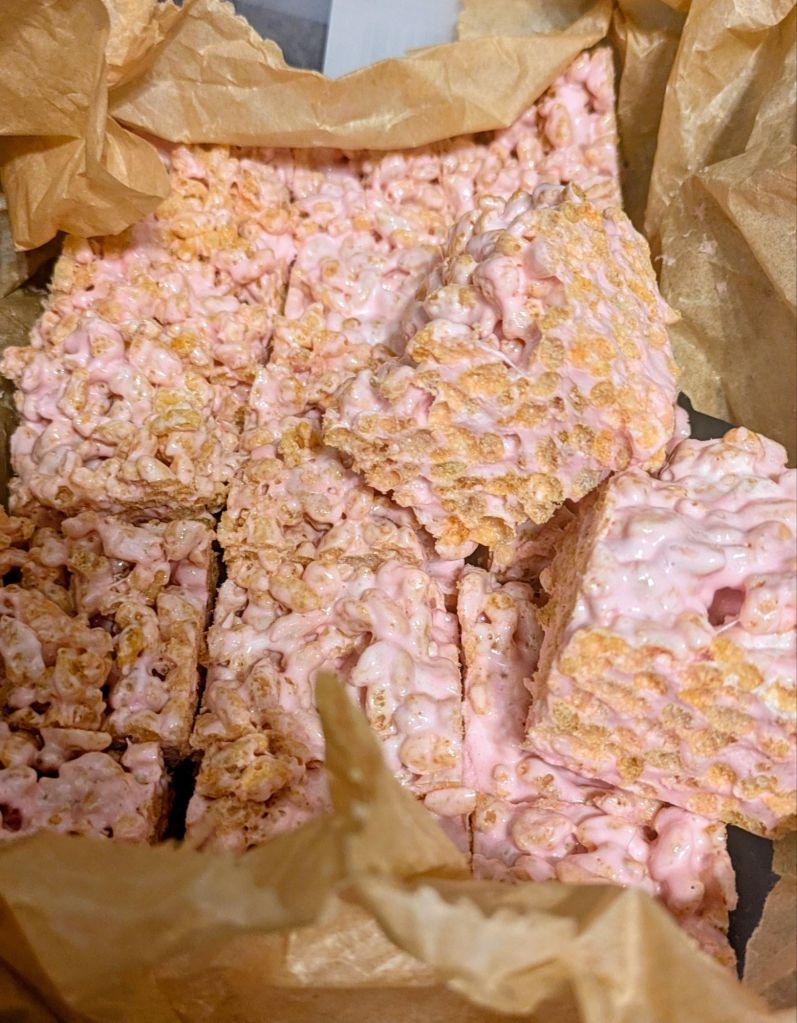
A work mate’s birthday was coming up. I promised to bring in something nice and these popped into my head for some reason. I hadn’t made them in years and I forgot just how nice they were.

Only 3 ingredients and no baking, you can even use a microwave to melt the butter and marshmallows. These were an all round crowd pleaser, and they’re also great for anyone who can’t have gluten. This is also a good recipe to make with kids, as they can get involved with lots of stirring (the only problem is getting to wait until the squares set).

Ingredients
40 Grams Butter
150 Grams Rice Krispies (or other generic puffed rice cereal)
200 Grams Marshmallows (if you can get the mini marshmallows even better as they melt faster)
Method
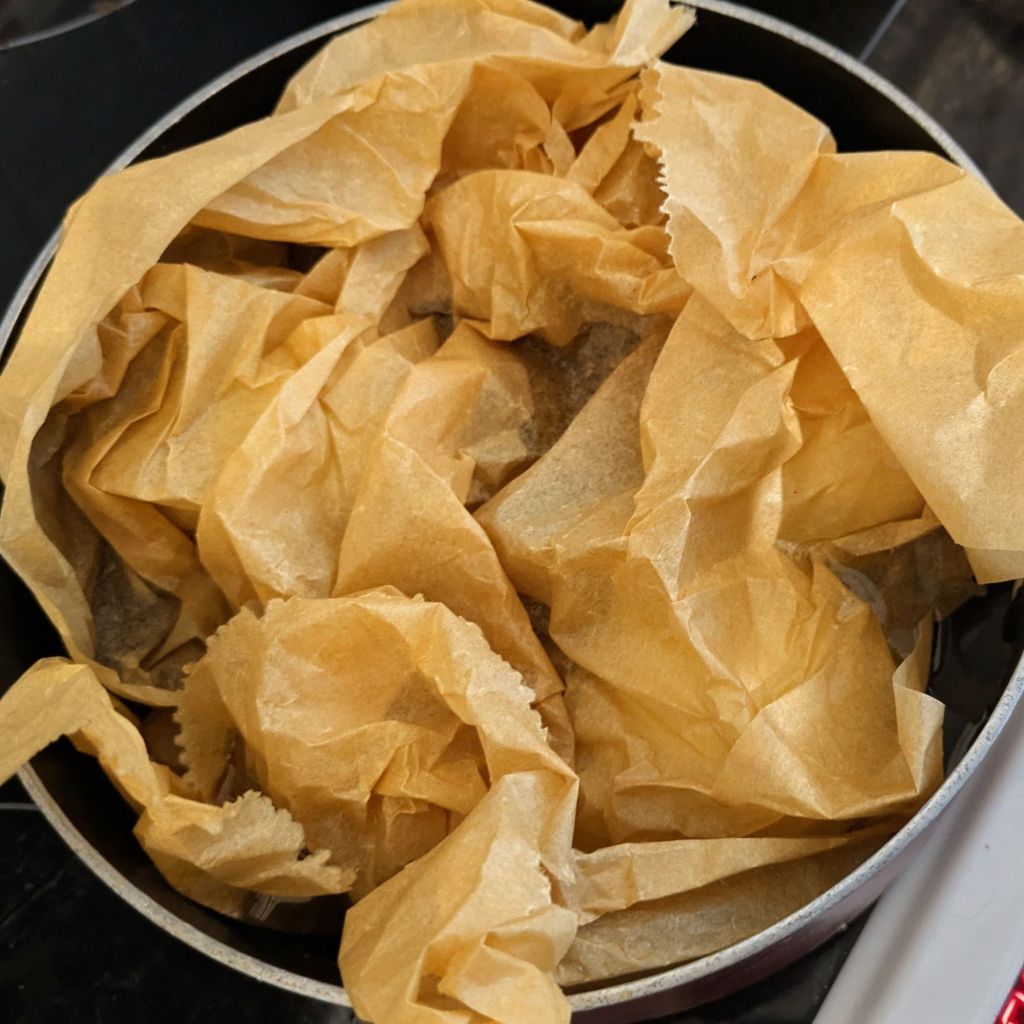
- Line a 6in x 6in dish with grease proof paper/baking parchment (if you don’t have a dish this size, don’t stress, use what you have, but the thickness might be different)
- Add the butter and marshmallows to a large microwave safe bowl and microwave for 30 seconds at a time stirring well each time to make sure everything melts evenly (if you don’t want to use the micro wave you can go old school and melt the butter and marshmallows in a large heat proof dish over a pan of simmering water)
- When the marshmallows have completely melted, mix in the puffed rice and mix until its thoroughly coated
- Transfer to the lined dish and spread out evenly with the back of a spoon or spatula. Allow to set in the fridge for at least an hour. If your feeling especially bougie, you could top the rice krispie treats with 150 grams of melted chocolate (it makes the top of the squares nice and smooth, but honestly I prefer them as they are)
- Once the mix has set cut into 4-5 cm squares. Store in an air tight box until ready to eat