Carnitas (Mexican Pulled Pork)

Everyone loves Mexican food, and while I make no claims that someone from Mexico would say this is just like their Mum would make, I think it tastes amazing. If you like pulled pork but never thought of trying it at home, you should give this a go. It really is simplicity itself, all you need is time, so perfect for the weekend when you kick back or get on with other things while the oven does all the work for you.

I love this in tacos but you can add it to burritos or sandwiches. While this does take some time, it’s a simple recipe and is ideal to feed a group of people cheaply. I used pork shoulder which is inexpensive and really benefits from being marinated and cooked long and slow.

Delicious in wraps too.

Ingredients

1 Kg Pork shoulder

100 ml Orange juice (I used the juice of 2 oranges)

1 Tbsp Tomato puree

1 Tsp Oregano

1 Tsp Chilli powder

2 Tsp Smoked paprika

1 Tsp Ground Cumin

1 Tsp Ground Coriander

1 Tsp Minced Garlic

Method

  1. Cut your pork into 4 chunks
  2. In a sealable freezer bag add all the other ingredients and squish together to make sure they are well mixed
  3. Add the pork to the bag and seal, rub the bag to make sure the marinade covers the pork and then put in the fridge. If you can marinade this for 24 hours this is ideal. If you don’t have that sort of time try to marinade for least an hour
  4. Pre-heat your oven to 160 degrees (Celsius). Put your pork and the marinade in an oven proof dish with a lid and place in the oven for 3.5 hours.
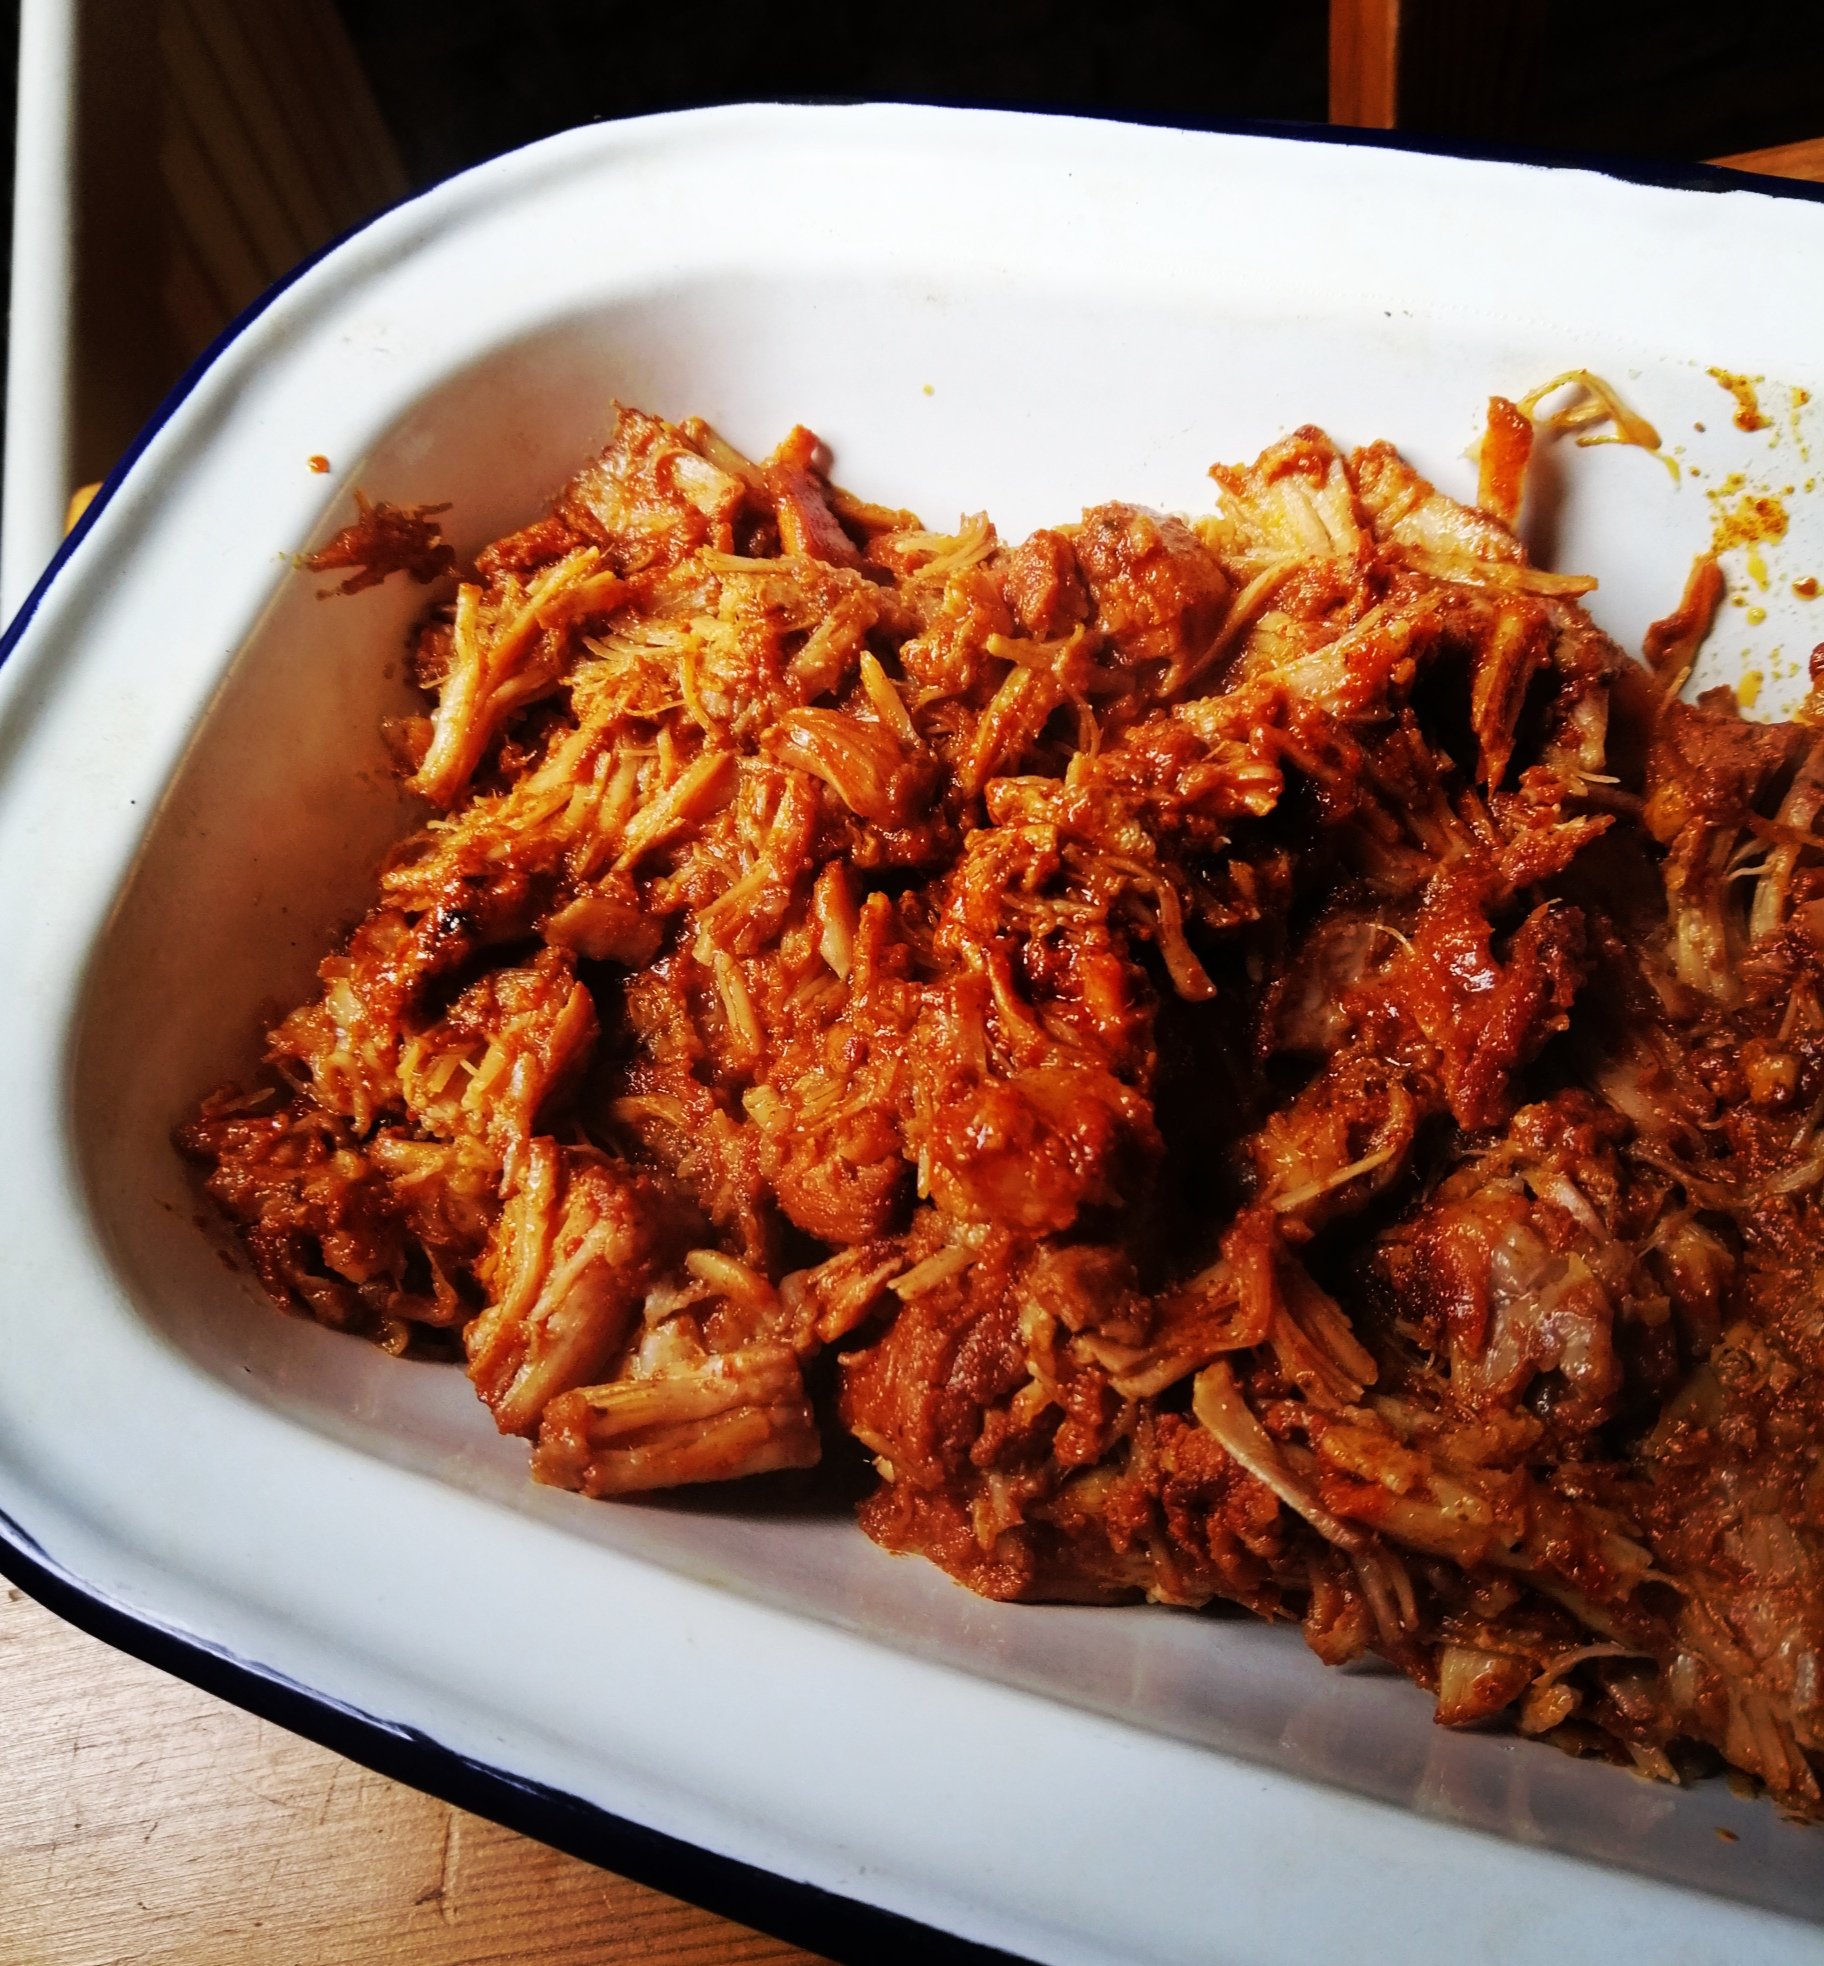
  5. Remove from the oven and shred the meat with two forks and mix in with the cooking juices for super tasty pulled pork

Key Lime Pie (with an Oreo crust)

Like everyone else I have been binge watching TV series during lockdown and had got back into Dexter, and an episode put Key Lime Pie back in my head.

The pie is usually made with a digestive biscuit (graham cracker) crumb base, but I’ve made mine with an Oreo crumb base mainly because I just like the contrast in colour (please don’t be tempted to add green food colouring the lime layer) . I’ve also added a whipped cream topping which you can leave out if you don’t like creamy desserts. A traditional pie apparently never had cream because it was difficult get and keep cream fresh in the Florida Keys where the pie originally came from. I also used supermarket own of Oreos which worked out to be much cheaper. Some places sell ready made Oreo pie cases, so if you’re short on time you could also use one of these.

Feel free to revert to the original pie, but I’ve only ever had thumbs up for this version. It’s really good as a dessert that you can make a head and take out of the fridge when you are ready to serve, or treat yourself and enjoy a slice with your afternoon coffee.

Ingredients

For the Crust

400 Grams Oreos

70 Grams Butter (melted)

For the Filling

1 x 397 Can of Condensed milk

3 x Egg yolks

4 x Limes (juice and zest)

300 ml Fresh Cream (whipped)

1 Tbsp Icing sugar

Extra Lime zest to decorate

Method

  1. Add the Oreos to a food processor and whizz until you have fine crumbs. I had to do this in 2 batches but it will depend on the size of your processor. Transfer the crumbs to large bowl and stir in the melted butter. Pre heat your oven 180 degrees (Celsius)
  2. Line the base of a 21-22 cm spring form cake tin with baking parchment and grease the sides of the tin with butter.
  3. Pour the Oreo mix into the tin and with a glass or the back of a spoon press the crumbs up the sides of the tin, until there is a crust of around 4-5cm. Make sure the base is well covered too. Bake for 15 minutes and allow to cool
  4. Add 3 egg yolks to a bowl or mixer and whisk until the yolks lighten in colour and increase in volume
  5. Add the condensed milk, and lime juice and zest and whisk for 2-3 minutes
  6. Pour the filling into the cooled pie base and bake at 160 degrees (Celsius) for 15 minutes before removing from the oven and allowing to cool
  7. When the pie is completely cool, whisk the cream and icing sugar together until it forms soft peaks. Spread over the top of the baked pie and add some finely grated lime zest for a finishing touch

Slow Roast Cherry Tomatoes

Do you ever get a bit over zealous when shopping and have stuff hanging about the fridge that you forget about. I do this more often than I should. I recently found a tub of cherry tomatoes that I had forgotten about and were starting to go a bit soft. I decided to cook these long and slow and they tasted fantastic.

I used these as a side dish, but they would be fantastic stirred into some freshly cooked pasta, or served cold in salads or on some crusty bread with some soft cheese. These are every bit as tasty as sun-dried tomatoes. I made quite a small batch of these (because it was a small tub of tomatoes), but I’m definitely going to make bigger batches next time. These can live in your fridge for 3- 4 days in an air tight jar.

Ingredients

250 Grams Cherry tomatoes (halved)

1 Tbsp Olive oil

1/2 Tsp salt

2 Cloves of garlic (roughly chopped)

3-4 Sprigs of thyme or 1/2 Tsp dried thyme

Method

  1. Preheat your oven to 180 degrees
  2. Place all the ingredients on a baking sheet and mix well to ensure the tomatoes are coated in the oil. Bake for 20 minutes
  3. Reduce the heat to 140 degrees and cook for a further 30-40 minutes, until the tomatoes start to look wizened up and starting to char

Baked Feta with a Hazelnut Crust

I love super simple recipes, that don’t require dozens of ingredients or loads of time.

This is really simple and delicious and is perfect as a lunch to share or as a sharing starter. You can cut the feta into smaller pieces if you prefer to make these single serving.

The hazelnuts should be kept fairly chunky (I crushed these in a mug with the base of a rolling pin to stop them rolling all over a cutting board). I also like a light drizzle of honey at the end, as I think its a nice contrast against the saltiness of the feta, serve it with salad and some crusty bread.

Ingredients

200 Gram Feta/Greek salad cheese

40 Grams Hazlenuts

4-5 Sprigs Thyme/1/2 Tsp Dried thyme

1 Tbsp Oil

1 Tbsp Honey (Optional)

Method

  1. Take the cheese out of the fridge about 30 minutes before your plan to bake it (if you forget to do this its no biggy), pat dry with kitchen paper and rub with the oil. Preheat your oven to 200 degrees (Celsius)
  2. Coat both sides of the cheese with the crushed hazelnuts and thyme, move to an oven proof dish and bake for 20 minutes or until the hazelnuts and toasted and brown
  3. Remove from the oven and drizzle with honey (if honey isn’t your thing don’t worry it will still be delicious)

Crab Claws in Garlic Butter

Some ingredients are so good that you need to do very little with them. Crab claws are one of these ingredients.

Butter and garlic can make most things taste better but match them up with sweet meaty crab claws and within 5 minutes you have one of the most delicious things you’ll ever eat. It might seem like a lot of garlic and butter and you can scale it back if you prefer, but this isn’t an everyday dish, so I think it’s worth the splurge.

If you don’t cook fish at home because you think it can be a bit like hard work, this is really quick and easy. Crab claws usually come ready cooked so there is no preparation, All you’re really doing is heating them.

Ingredients

250 Grams Crab Claws

50 Grams Butter

3 Cloves of garlic

1 Tbsp Parsley (finely chopped, optional)

Method

  1. In a large pan heat the butter, when it starts to melt, add the garlic and the crab claws
  2. Cook over a medium heat for 3-4 minutes until the crab claws are heated through. Sprinkle with parsley and serve with a salad or crusty bread, yum!