Yes, you read it right, 30 cloves of garlic. Before you imagine that you will stink enough to scare off a small town of vampires I promise you won’t, the garlic mellows and becomes almost sweet. This is a classic French dish, and it’s a classic for a reason. Traditionally it’s made with a whole chicken, but I prefer chicken thighs

The garlic cooks gently in wine and the chicken juices until they are soft and delicious. Cook them with their skin on and when cooked squeeze the soft garlic onto the bread you serve with this dish., they taste amazing.

I used a dish that could be used on the stove top and in the oven. If you don’t have one just transfer to an oven proof dish before putting in the oven.

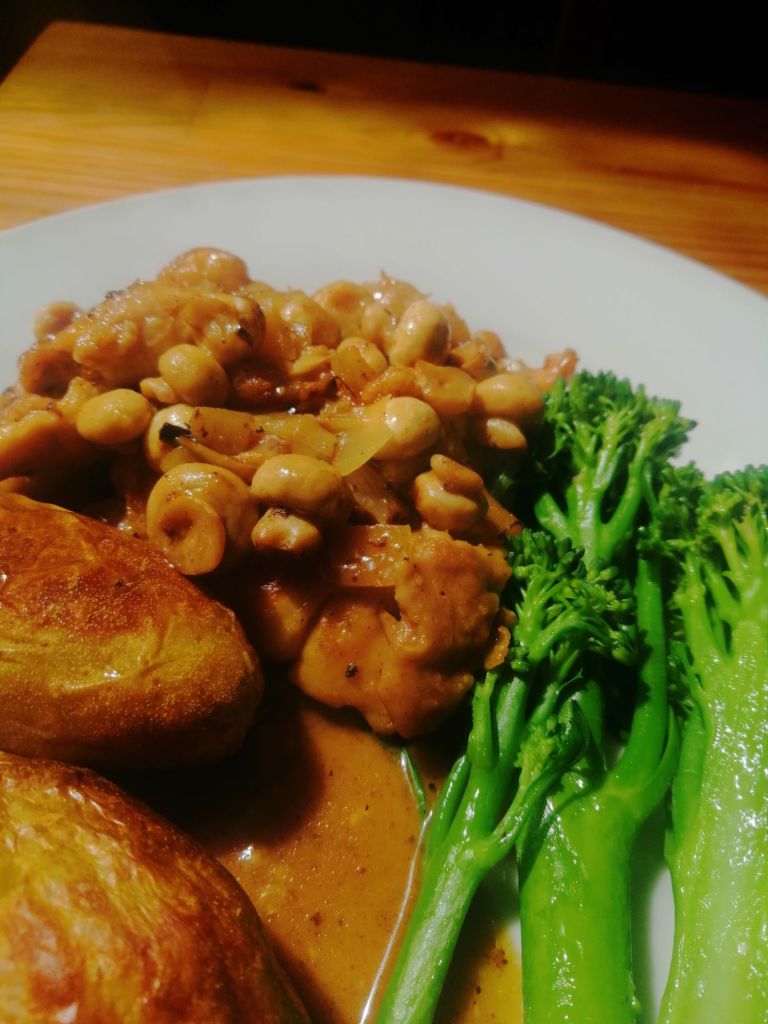
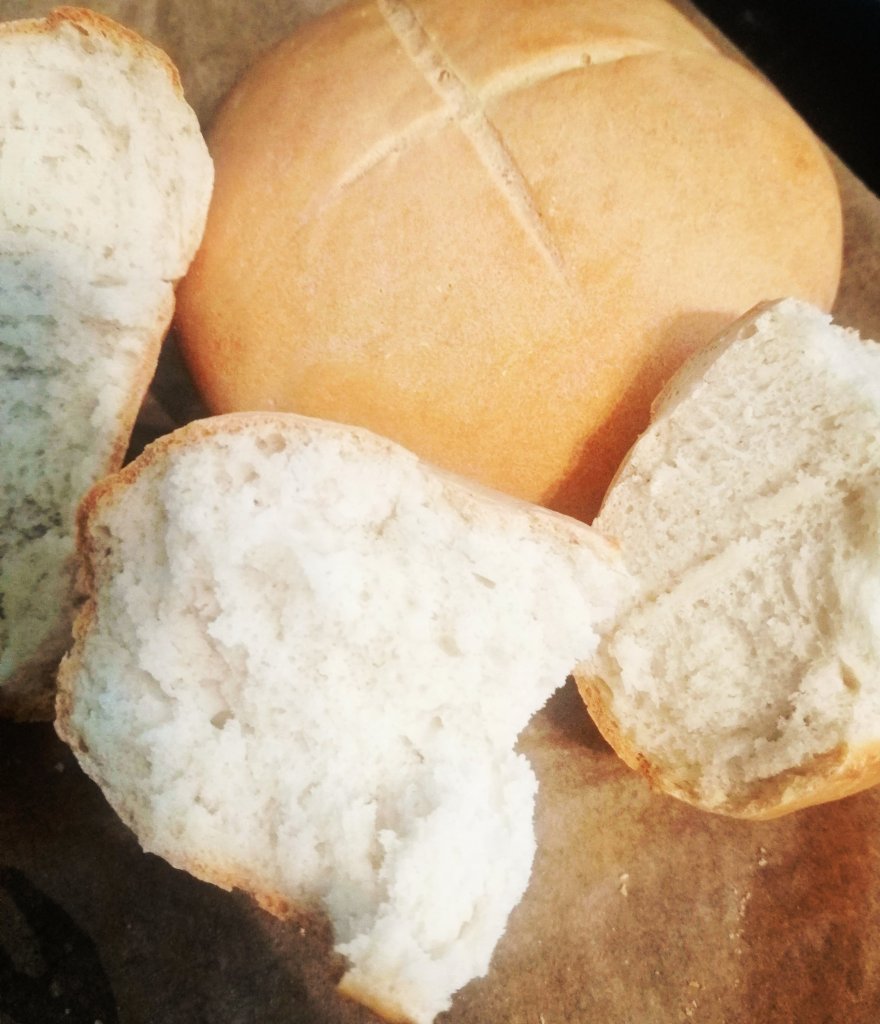
The whole dish is incredibly tasty, serve the soft chicken with salad and crusty french bread, to spread the confit garlic on and mop up the sauce with it.
Ingredients
1 Kg Chicken thighs (skin on and bone in)
30 Cloves of garlic (about 3 bulbs, remove most of the papery outside, but leave on the tight pink/white skin around each clove)
250 mil White Wine
2 Sprigs of rosemary
25 Grams Butter
1 Tbsp Oil
Salt and pepper
Method
- Pat the chicken dry with kitchen paper and season with salt and pepper
- Preheat the oven to 180 degrees (Celsius)
- In a large oven proof dish heat the oil and butter together. Over quite a high heat brown the chicken thighs on both sides (you might need to do this in a couple of batches, because if you crowd the pan the chicken won’t brown and you don’t want to lose the flavor)
- When all the chicken has been browned add the wine and rosemary to the pan and scrape the bottom to release the yummy brown bits
- Add the garlic cloves to the pan and stir well, before covering the dish with a lid (if your dish doesn’t have a lid, cover tightly with tin foil
- Bake for 1 hour and 15 minutes (maybe a little longer if the chicken thighs are large, just check they are cooked through)
- Serve with salad and crusty bread, squeeze the garlic out of it’s papery cover onto the bread and spread with a knife, you can thank me later