I love a fairly straightforward recipe that tastes so good people think you have spent hours on it. This is one of them.

I don’t cook with booze that often, but if you get a chance to pick up of Marsala (fortified wine), you’ll be glad you did.

I used tiny little button mushrooms in this, but if you can’t get them just chop larger mushrooms roughly, you don’t need to get too fancy. You can use chicken breasts for this recipe, but I opted for boneless, skinless chicken thighs became they’re cheaper and i think have more flavour.
Serves 4
600 Grams Chicken thighs
1 Onion or 2 shallots (finely chopped)
200 Grams Button mushrooms
75 Mil Marsala
250 Mil Chicken stock (it’s fine to use a stock cube dissolved in warm water)
Juice of 1 lemon
1-2 Cloves of garlic
2-3 Tbsp flour
50 Grams Butter
1 Tbsp Oil
Salt and pepper
Method
- Spread the flour on a plate and sprinkle liberally with salt and pepper
- Coat the chicken in the seasoned flour
- In a large pan, heat the oil and a large knob of butter over a medium heat until the butter starts to foam
- Add the chicken to the pan and colour until golden brown on both sides. Remove from the pan set to one side
- Next add the onion and mushrooms to the pan and cook for a few minutes before adding the garlic, stirring occasionally
- Pour the stock, lemon juice, and Marsala to the pan and stir well to make sure all the yummy crusty chickeny bits on the base of the pan disolve into the liquid
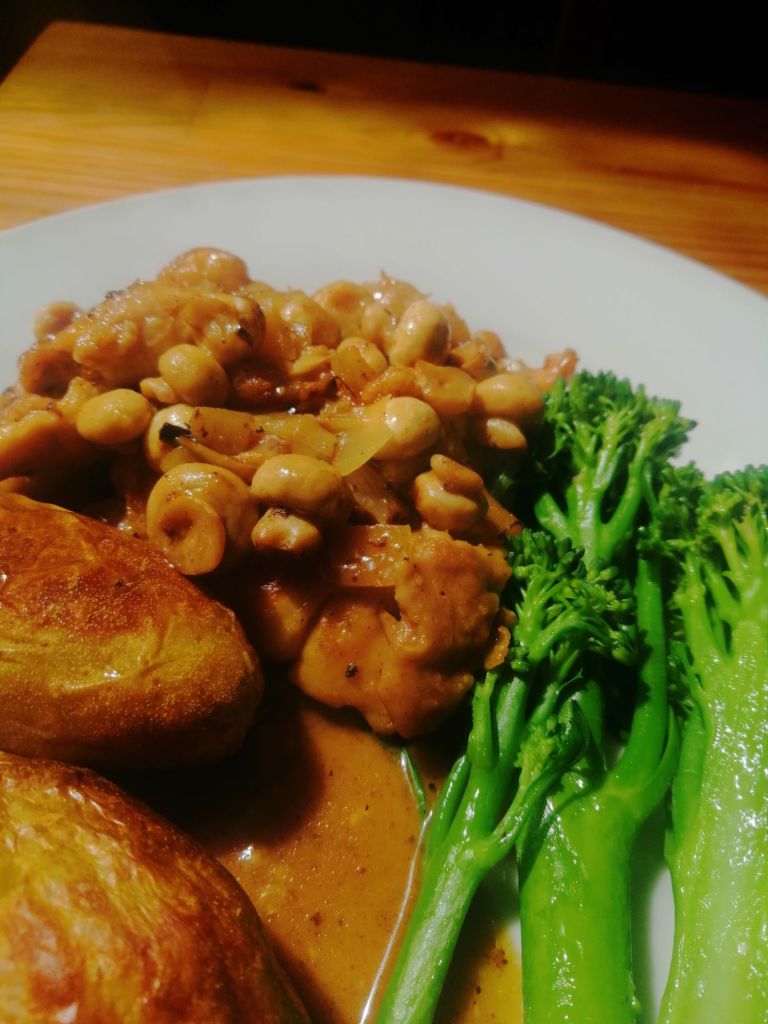
- Return the chicken and any juices back to the pan to finish cooking and the sauce reduces by about a third and the alcohol has evaporated off
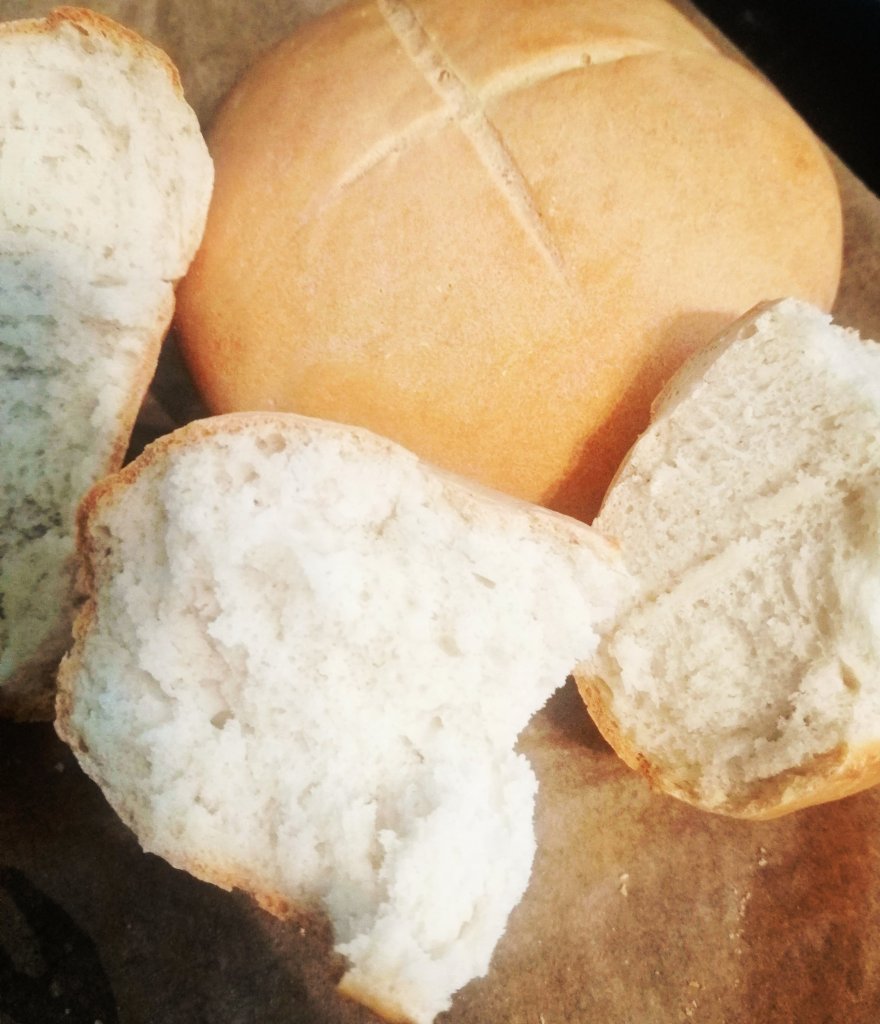
- Check the seasoning and you can add more salt and pepper if you think it needs it. I love this with potatoes and greens, but its also great with crusty bread to mop up the delicious sauce