Stop throwing away stale bread and use it for this yummy unctuous comforting bake. You can make most of it the night before and impress everyone with a super chic breakfast, but it’s great at any time of the day. This is best if you can start it the night before but if not allow the bread to soak up the egg mixture for at least an hour or two

If you’re being totally authentic you should use Gruyere cheese, but I didn’t have this so I used cheddar and it was yummy too.
Serves 4
Ingredients
8 Slices of stale white bread
175 Grams Cheese (save about a third of the cheese to sprinkle on top before you put the bake in the oven)
4 Slices of ham
6 Eggs
350mil Milk
2 Tbsp Soft butter
2 Tbsp Dijon mustard
For the bechamel sauce
40 Grams Butter
20 Grams Plain Flour
4000 mil Milk
Salt and pepper
Method
- Butter 4 slices of bread, and spread the other 4 slices with mustard
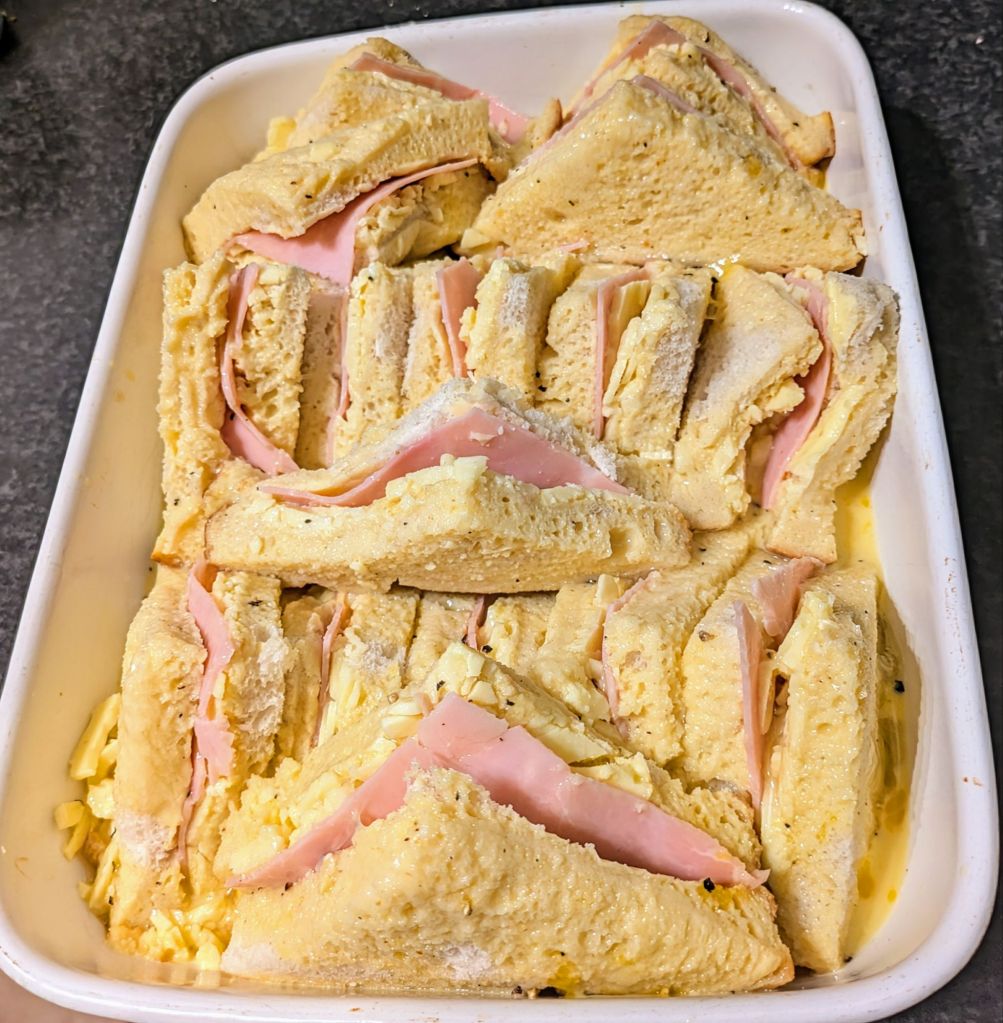
- Thinly slice two thirds of the cheese, and with ham make 4 cheese and ham sandwiches
- Cut each sandwich into 4 triangles. Lightly grease an oven proof dish and arrange the sandwiches in the dish.
- Whisk the eggs and milk together with a pinch of salt and pepper and pour over the sandwiches making sure they are all coated
- Cover the dish with cling film and allow to sit overnight in the fridge (or for at least an hour or two)
- Preheat the oven to 180 degrees (Celsius)
- Make a bechamel sauce, melting butter in a sauce pan before stirring in flour to make a roux type paste and then gradually stir in the milk and heat until the sauce thickens and doesn’t taste floury anymore, season with salt and pepper
- Grate the remaining cheese, and remove the oven proof dish from the fridge. Top the sandwiches with the bechamel sauce and sprinkle with cheese
- Bake for 30-40 minutes until deeply brown and bubbly.
- Allow to sit for 10 minutes before serving