I love when seasons change and new foods become available.

Asparagus is great at the minute, so I decided to make this yummy creamy quiche with it as the centre piece.

I used marscapone to add creaminess the the egg mix, because it’s what I had in the fridge. You could also use creme fraiche or recotta if this is what have.
I used ready made pastry which made this even easier (it looks quite impressive for not a huge amount of effort if you’re cooking for people and can be serve hot or cold).
Ingredients
1 Sheet of ready made short crust pastry
6 Eggs
1 Leek (finely sliced)
1 Bunch of asparagus
1 Tbsp Oil
100 Grams Marscapone cheese
25 Grams of Parmasan (or other strongly flavoured cheese like mature cheddar)
Salt and pepper
Butter/oil for greasing a loose bottom flan/pie dish
Method
- Grease the flan dish, and line with the ready made pastry, making sure the it’s pushed well into the edges. Pierce the base of the pastry with a fork and then chill the flan dish for 30 minutes
- In a frying pan heat the oil over a medium heat and gently fry the Leek until it softens but do not allow to brown (set to one side and allow to cool)
- To prepare the asparagus, snap off the ends and the blanch the asparagus on boiling water for 30-90 seconds depending on the thickness of the spears). Remove the boiling water and submerge in ice water (this will help keep their bright green colour)
- Preheat the oven to 180 degrees Celsius. Cover the base of the pastry with greaseproof paper and poor baking beans or old dried rice or beans on top). Bake for 20 minutes, remove from the oven and carefully remove the greaseproof paper and baking beans
- In a large bowl, add the marscapone, parmasan and eggs and whisk until smooth (add salt and pepper)
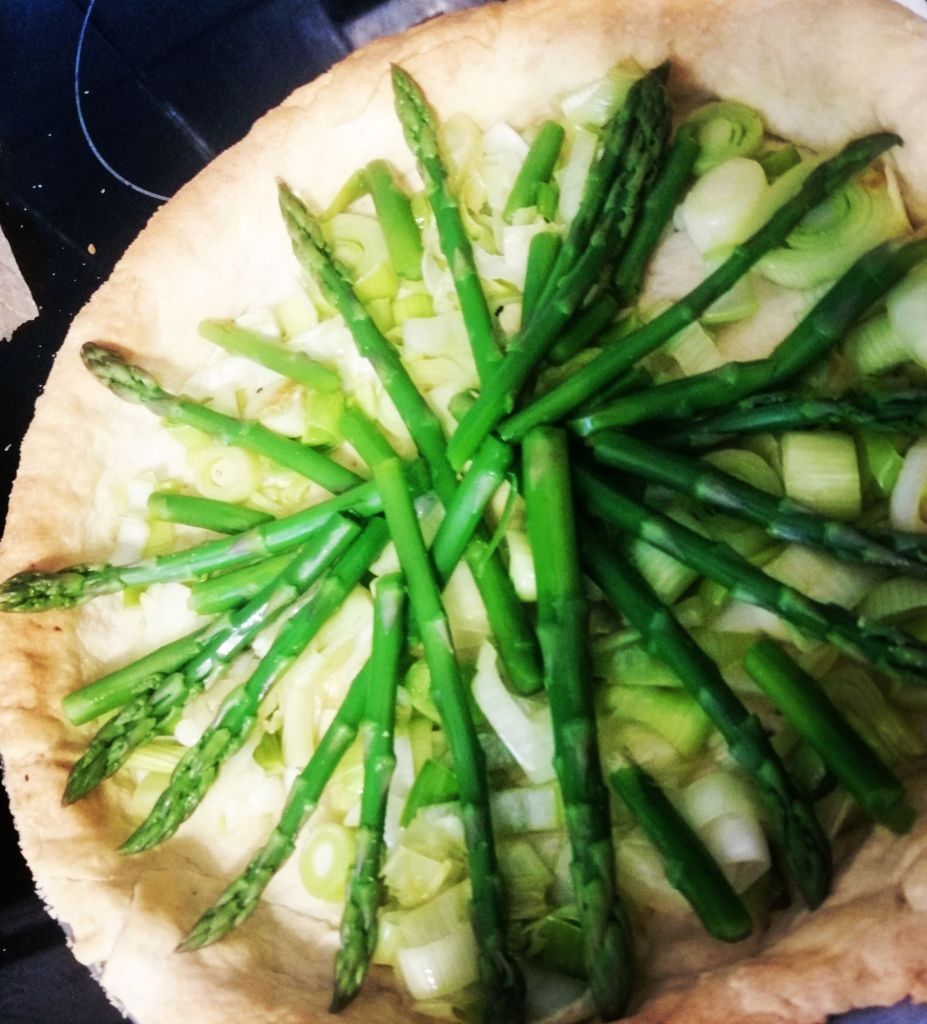
- Cover the pastry base evenly with the cooked leeks, then arrange the asparagus spears wth tops pointing to the outside of the tin
- Pour the egg mix on top of the vegetables and carefully place the tin back in the oven ad bake for another 20 minutes or until the centre of the quiche is just starting to set