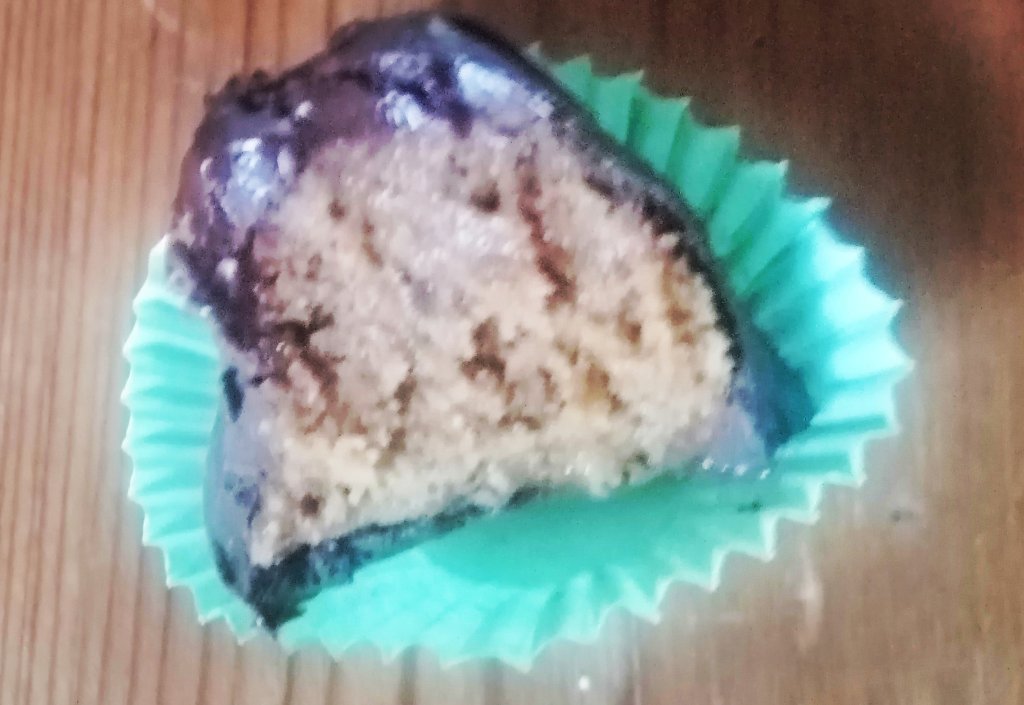
Rich chocolate muffins with a bite of juicy pear in each one.

Ground almonds in this recipe keeps these super light and moist, yummy.
Makes 12
Ingredients
150 Grams Ground almonds
2 & 1/2 Tsp Baking powder
40 Grams Cocoa powder
175 Grams Butter, plus 1 Tbsp
175 Grams Sugar, plus 1 Tbsp
3 Eggs
150 Grams Self Raising flour
4 Tbsp Milk
4 Firm pears (peeled and cored, and cut into 2-3cm chunks)
Method
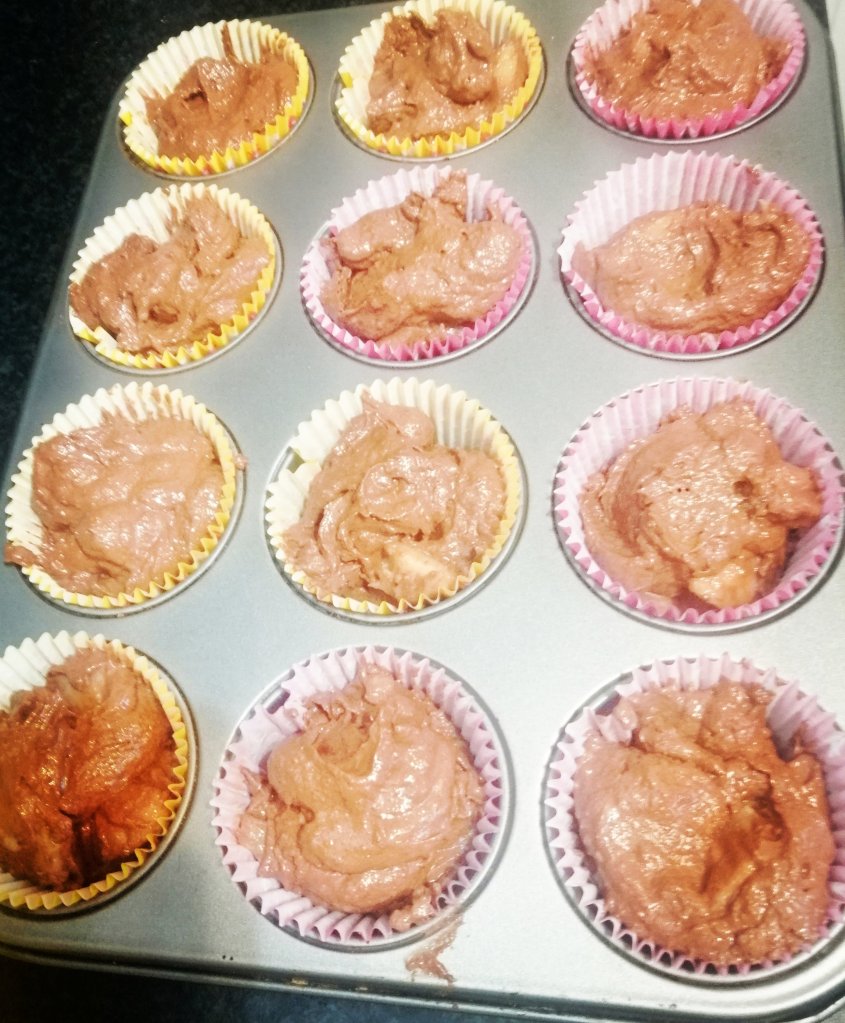
- Preheat the oven to 180 degrees (Celsius). Line a muffin tin with paper cases, or else grease the cups with extra butter to make them easy to remove
- Add a tablespoon of butter and sugar to a frying pan and melt before adding the pears. Gently cook over a medium heat for 2-3 minutes stirring occasionally (don’t let them get too soft). Remove from the heat and allow to cool
- With an electric whisk, or stand mixer cream the rest of the butter and sugar together until light and fluffy.
- Add the eggs one at a time and continue mixing, (don’t panic if it looks like it’s curdled, it’s fine)
- Add the milk and the rest of the dry ingredients and mix until well combined
- Empty the pears into the muffin mix and gently fold them into the batter with a metal spoon until they are evenly distributed
- Spoon equal amounts of the mix into the muffin cases and bake for 30 minutes
- Allow to cool and then dust with icing sugar