Ginger and Turmeric Shots

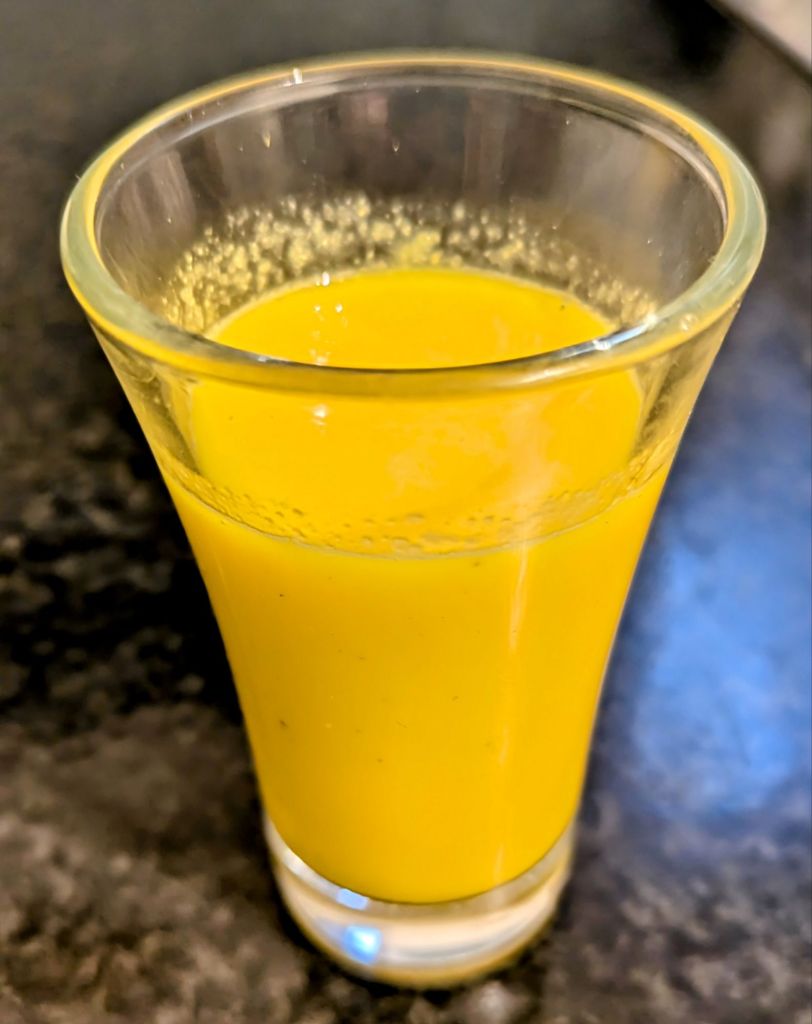
If you haven’t been buying ginger shots already, you’ve probably spotted these little shots of goodness in many shops.

Both turmeric and ginger have powerful anti inflammatory and anti oxidant qualities, and can boost your immune system. So these are great if you are feeling a little bit under the weather, fighting of a colds or flu, and also help if you’re suffering with a hangover.

The little shots you buy cost at least £2 each. I made 4 shots, enough for 4 days in 5 minutes and about a quarter of the cost of buying them in a shop.

You’ll also see some odd ingredients like black pepper. Peperine found in black pepper helps activate some off the anti oxidant chemicals in the turmeric. I promise you won’t taste it, and you can swap it out for cayenne pepper if you prefer this.

A little oil is added as well. The fat helps your body absorb all the good stuff in the ginger and turmeric. You can substitute it for coconut oil if you prefer. Finally, honey is there for a little sweetness, but to be honest I’ll maybe leave it out next time as the oranges I had were really sweet, so maybe check on the sweetness of your oranges before adding. You can also swap the honey for agave or maple syrup if you are vegan.

Most importantly, these taste really good. Next time I make them, I might even go a little heavier on the ginger. I quite enjoy the heat, but it’s purely up to personal preference. The shots are healthy and delicious. They are quick and easy to make if you have a blender. They also cost a fraction of what you’ll pay outside.

Make 4-5 shots (this can live in your refrigerator for 5-6 days)

Ingredients

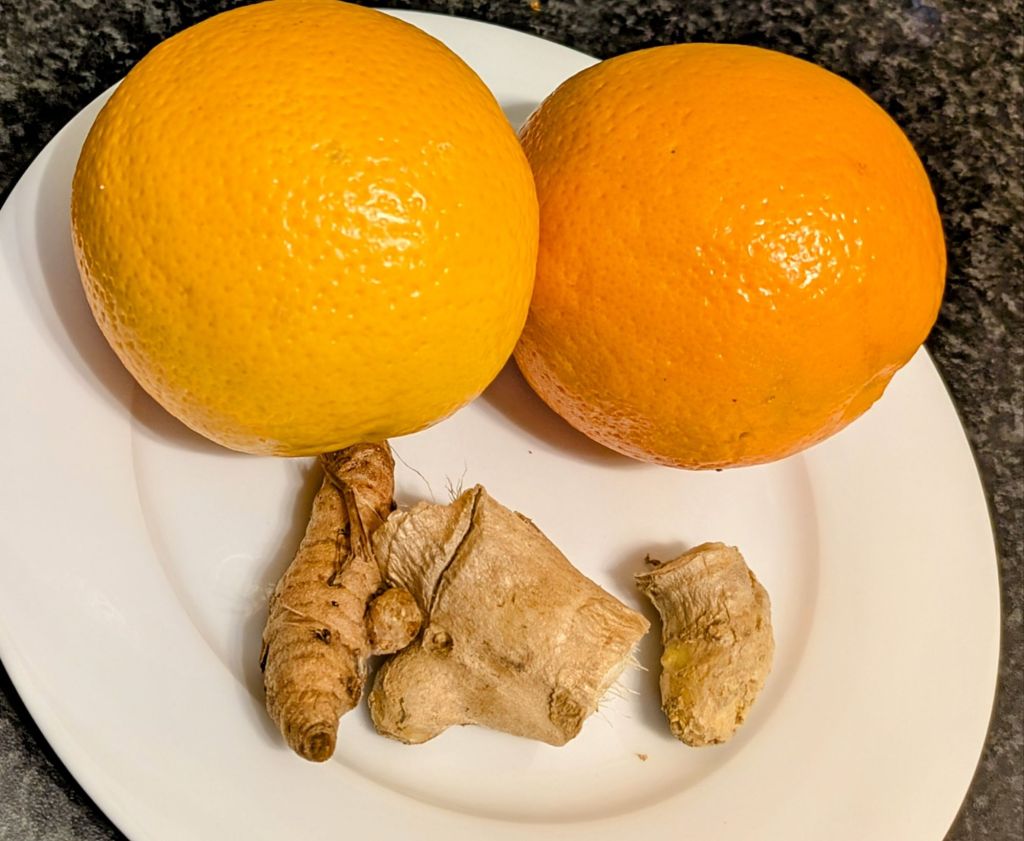
2 Oranges (peeled and roughly chopped

Thumb sized pieces of ginger (scrape the skin off with a spoon and then roughly chop)

3-4 cm Piece of Turmeric root (scrape the skin off with a spoon and then roughly chop. If you can’t find turmeric root, then replace this with 1 teaspoon of turmeric powder)

1 Teaspoon Honey or maple syrup

2-3 Grinds of black pepper if using a pepper mill or quarter teaspoon of ground black pepper

1 Teaspoon Olive oil

250 Ml Water

Method

  • Add all the ingredients to a blender or food processor and whiz for 1-2 minutes, or until there are no more lumps
  • Pour the mixture in to a mesh sieve with container below and strain (you can also use muslin or clean tea towel if you don’t have a sieve, the turmeric will stain it yellow)
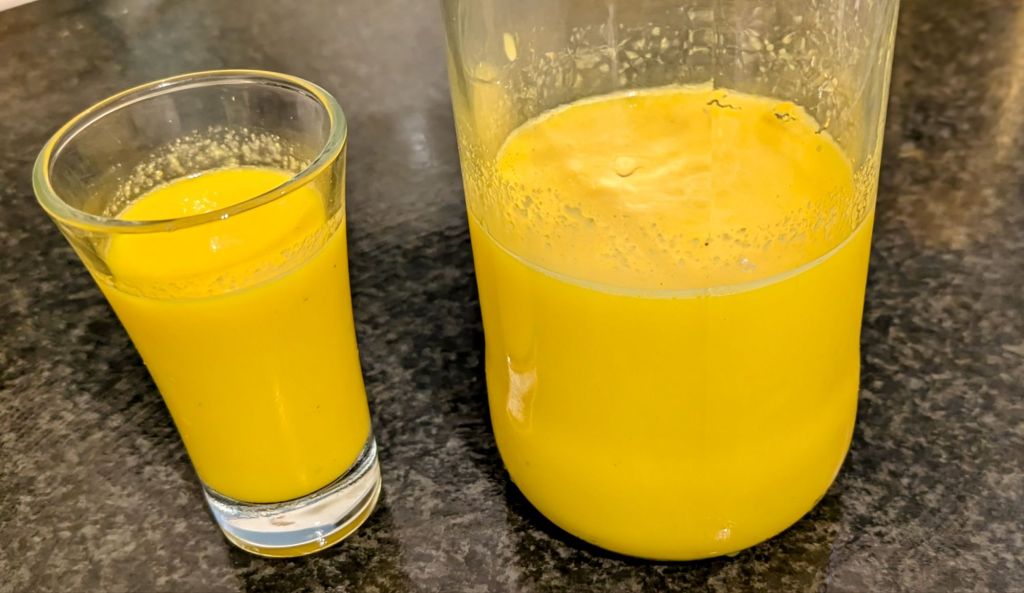
  • When you have strained the liquid you can transfer the liquid to a bottle/s and chill, or enjoy a little shot of sunshine right away

Ginger and Orange Rolls

I love a cinnamon roll, but being the distracted shopper that I am, I picked up ground cumin instead of cinnamon. Luckily I realised this before making the filling (let’s face it, it would be disgusting). After rifling through the cupboards I founds some ground ginger and decided to take a gamble and these actually turned out really well. So these are perfect for those of you who hate cinnamon, but feel free to substitute with cinnamon if you love it. The orange also gives a nice hint of freshness.

This is a relatively straight forward recipe based on a recipe from Sally’s Baking Addiction.   Her recipe doesn’t use orange, so if its not your thing you can leave it out.  Some cinnamon roll recipes involve proving the dough over night etc, I like this recipe as the dough only needs to prove once. These are delicious with a coffee but are also ideal if you making brunch and will disappear in 5 minutes.

Ingredients

For the dough

400 Grams Plain flour

50 Grams Sugar

1/2 Tsp Salt

45 Grams Butter

180 ml Milk

2 & 1/4 Tsp Dried yeast (or 1 sachet)

1 Egg

For the filling

45 Grams Butter (very soft)

Zest of 1 orange (save the rest of the orange, as you’ll be adding the juice to your icing)

65 Grams Brown Sugar

1 Tbsp Ground ginger

For the icing

115 Grams Cream Cheese

30 Grams Butter

80 Grams Icing sugar

Juice from half the orange you zested

Makes 10-12

Method

  • For the dough, add the flour, sugar, and salt to a bowl and set to one side
  • In a bowl in the microwave, or in a pot on the stove gently melt the butter in the milk until it is warm to the touch but not hot (you will be adding yeast to this, and if it’s too hot it will kill the yeast).  Whisk in the yeast until it is dissolved
  • Pour the milk mix and egg into to the dry ingredients and stir well until you get a soft dough. You can then use the dough hook in a stand mixer to knead the dough or turn it out onto a well floured surface and knead for 5 minutes
  • Lightly grease a large bowl and put the dough in the bowl and rest for 10 minutes
  • While the dough is resting combine the ginger, orange zest and brown sugar for the filling
  • Once the dough has rested, roll it out into a rectangle about 14 x 8 inch or 36 x 20 cm.  Spread the softened butter for the filling evenly across the rolled out dough, and sprinkle evenly with the cinnamon mix
  • Roll the dough into a long log (should be 14 in or 36cm long), cut into 10-12 equal slices.  Grease a large baking dish (I find metal baking dishes are best for this, but use what you have) and place the slices of dough in the dish (cut side up).  Cover with a tea towel and allow to rest for 60-90 minutes in a warmish area until the dough has doubled in size
  • Preheat your oven to 190 degrees (Celsius), bake the rolls for 25-30 minutes (cover loosely with kitchen foil if they are browning too quickly)
  • To make the icing, add the ingredients to a bowl, and whisk until thoroughly combined.  Spread the icing evenly over the warm rolls with a spatula.  (when cooled these can be stored in an airtight box in the fridge for up to 5 days, but trust me they won’t last that long)

Fake Away Orange Chicken

On the days when I’m not in the mood for cooking I enjoy a good Chinese take away.

This can be expensive, and not especially healthy. One of the dishes I enjoy is orange chicken. Sometimes it can be overly sweet and the chicken is deep fried, making it high in calories.

My version is a bit healthier, but still delicious. It’s perfect for a week night dinner if you want something a bit different and is pretty quick to make. I don’t like this dish too sweet (I think there is enough sweetness from the orange), but if you prefer you can add a tablespoon of honey to the sauce if you have a sweet tooth.

Ingredients

500 Grams Chicken breast (cut into bite sized pieces)

2 Oranges (finely grated zest and juice)

250 ml Chicken stock

1 Tbsp Rice wine or cider vinegar

1 Tbsp Garlic (finely chopped)

1 Tbsp Ginger (finely chopped, or 1 Tsp of ground ginger if you don’t have any fresh)

1 Tsp Salt

1 Tbsp Oil

1 – 2 Tbsps Cornflower (mixed with a small amount of water until its a smooth thick liquid)

Seseme seeds and finely sliced scallions/spring onions (optional) to garnish

Method

  1. Heat the oil in a large frying pan and add the chicken. Cook for 5-10 minutes until nearly cooked
  2. Remove the chicken from the pan and add the garlic and ginger, cooking for 1-2 minutes
  3. Add the stock, salt orange juice and zest and the chicken to the pan and simmer
  4. When the liquid has reduced by about a third, add your cornflour mix to the pan stir well.
  5. Simmer for a further 5 minutes until the sauce has thickened
  6. Garnish with toasted sesame seeds and thinly sliced spring onion and serve with rice or noodles

Cranberry and Orange Shortbread Cookies

I love baking at Christmas, something about the smell of delicious things coming out of the oven adds to my Christmas spirit.  It’s also brilliant way to keep little hands busy if you have kids at home.

Fresh out of the oven and cooling on a wire wrack.  Your kitchen will smell fabulous!!!

Shortbread can be fiddly to cut out, but these cookies just need slicing into rounds.  What’s even better, you can make the shortbread dough up to 72 hours in advance and let it chill in the fridge and then take the log of dough out to slice and bake them just before you need them.  They can be stored in airtight box for up 3 days (they won’t last that long).

Shortbread dough rolled into a sausage ready to be chilled

I used a food processor to make these, which makes them super quick and easy.  If you don’t have one, you can chop the cranberries and mix the butter and flour together using the rubbing in method.

You can also dip or drizzle with dark chocolate if you’re feeling particularly indulgent. However they are still delicious just as they are.

If like me you can’t be trusted to moderate your consumption of these, they also make great gifts.

Makes around 30 cookies

Recipes

70 Grams Dried cranberries

100 Grams Sugar

230 Grams Butter (chilled and cut into cubes)

340 Grams Plain flour

1 Orange (zest and juice)

100 Grams Dark chocolate (optional)

Method

  1. Add the cranberries and about a third of the sugar into a food processor and pulse for about 30 seconds, until the cranberries have started to break up (the shouldn’t be too finely sliced)
  2. Transfer the sugar and cranberry mix to a bowl.  Add butter and flour to the food processor and pulse until they look like fine breadcrumbs.
  3. Add the butter and flour mix to the cranberry mix with the rest of the sugar and the orange zest and mix well
  4. Start adding the juice of the orange a little at a time (how much you will need will depend on your flour). Get your hands in the bowl and start pressing the mix together to form a dough
  5. Turn out onto a large sheet of cling film and squeeze into a sausage shape about 4-5cm in diameter.  Wrap tightly in the cling film, you can also give it a little roll to help it look a little neater
  6. Chill for at least 30 minutes (but the dough can live in your fridge for 2-3 days if you want to make ahead of time
  7. When you are ready to bake, pre heat your oven to 180 degrees Celsius. Line a cookie sheet with baking parchment. Remove the cling film from the dough and cut into 1cm thick slices and put on the baking parchment (they will spread a little, so allow some space between them)
  8. Bake for 12-15 minutes, and allow to cool
  9. If you want to dip or drizzle the cookies in chocolate, make sure they are cool. Break the chocolate into small pieces into a microwave proof bowl. Microwave for 30 seconds at a time until melted and then either dip the cookies or drizzle with a spoon