While trying to eat less meat I’ve struggled with plant based protein alternatives. Tofu is s big turn off for me (I’ve given it every chance but it’s just not for me).
I remembered some of the delicious tempeh I had in Bali and gave it a try with a satay type marinade.

If you haven’t used tempeh before, its a soy protein widely eaten in Indonesia and you should be able to find it in the freezer section of Asian supermarkets or some larger supermarkets.
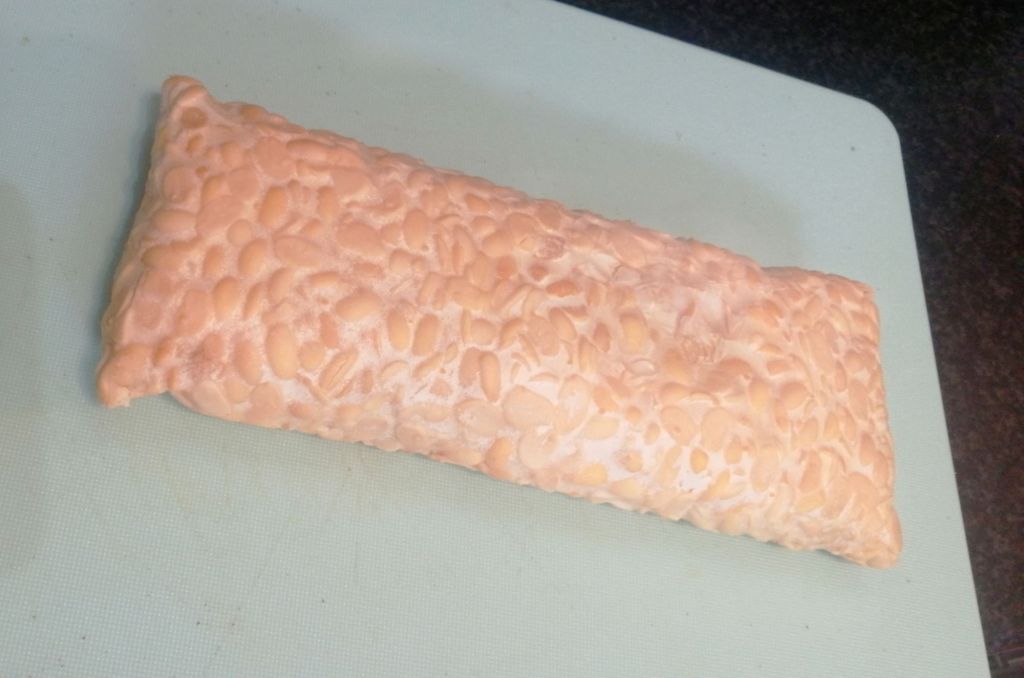
It usually comes in a flat loaf shape and you usually crumble or slice it before cooking.

This is a really versatile dish, you can eat it straight from the oven with rice or noodles, or it also yummy in salads, budha bowls or sandwiches and wraps.

Ingredients
500 Grams Tempeh
For the marinade
1 Red chilli (finely chopped or 1/2 Tsp chilli flakes)
Thumb sized piece of ginger (grated, or its fine to cheat and use a tablespoon of the prepared stuff in a tube)
2 Cloves of garlic (finely chopped)
3 Tbsp Peanut butter
2 Tbsp Soy sauce
Juice of 1-2 limes (I only had a lemon and also worked OK, because what your after is acidity to balance out the salt and sweet in the marinade)
3 Tbsp Maple syrup (cane sugar is traditional but this work well)
Method
- Defrost the tempeh and slice into 1cm thick slices
- In a large bowl combine all the ingredients for the marinade and stir well to make sure the peanut butter disolves.
- Put the tempeh slices into a large dish and cover with the marinade, ensuring all the slices are covered. Cover and put in the fridge for a couple of hours (ideally overnight)
- Preheat the oven to 180 degrees Celsius
- Line a baking sheet with parchment and lay the temp slices on this and bake for 20-25 minutes.