Surprise Cake (Guess the Secret Ingredient)

If like me you love trolling through old recipe books, you find some pretty weird stuff.  Don’t start me on how wrong Fanny Craddock’s mincemeat omelette is.

Recipes with weird ingredients largely came about because times were hard or normal ingredients just weren’t available.

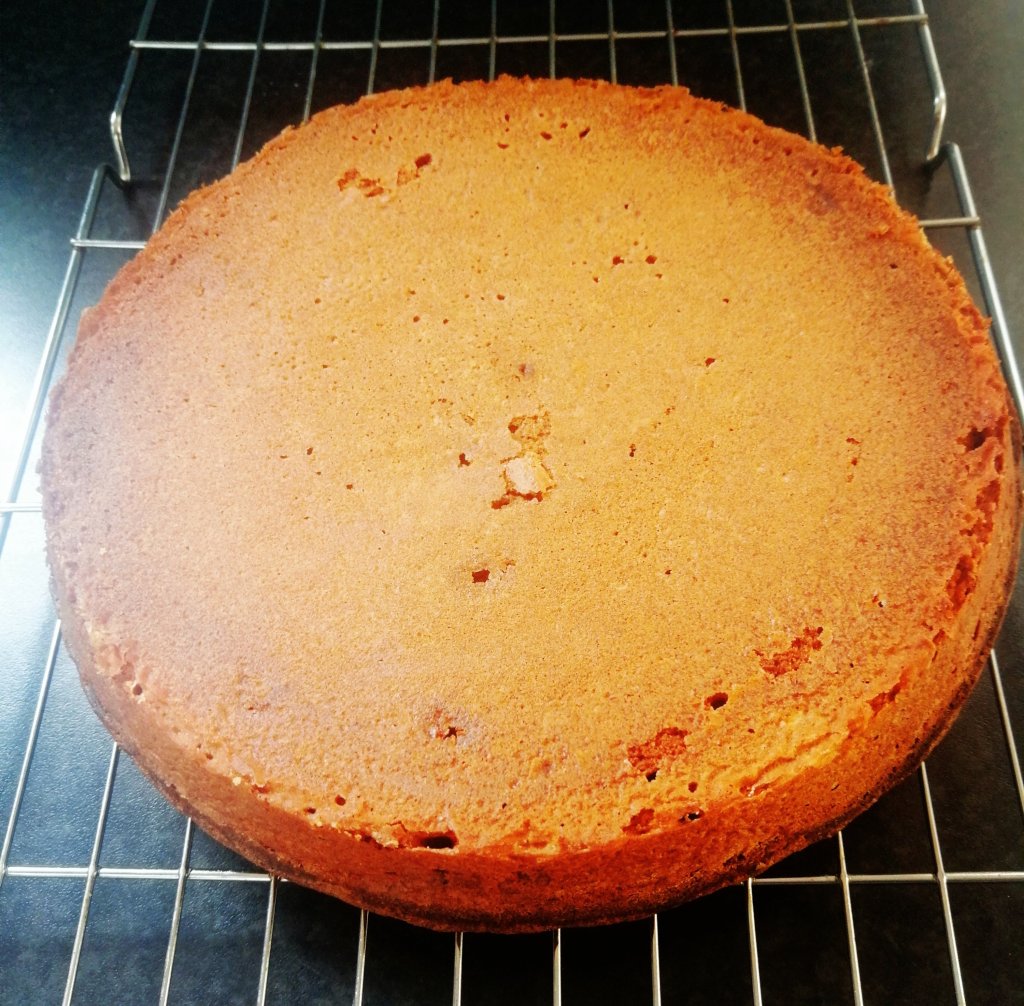
This cake dates back to the depression, and was popular again during World War 2 when the secret ingredient was used when butter was rationed.

If you haven’t guessed yet, the secret ingredient is Campbell’s condensed tomato soup.  Before you get grossed out, I promise the cake doesn’t taste of tomato soup, it actually tastes great.

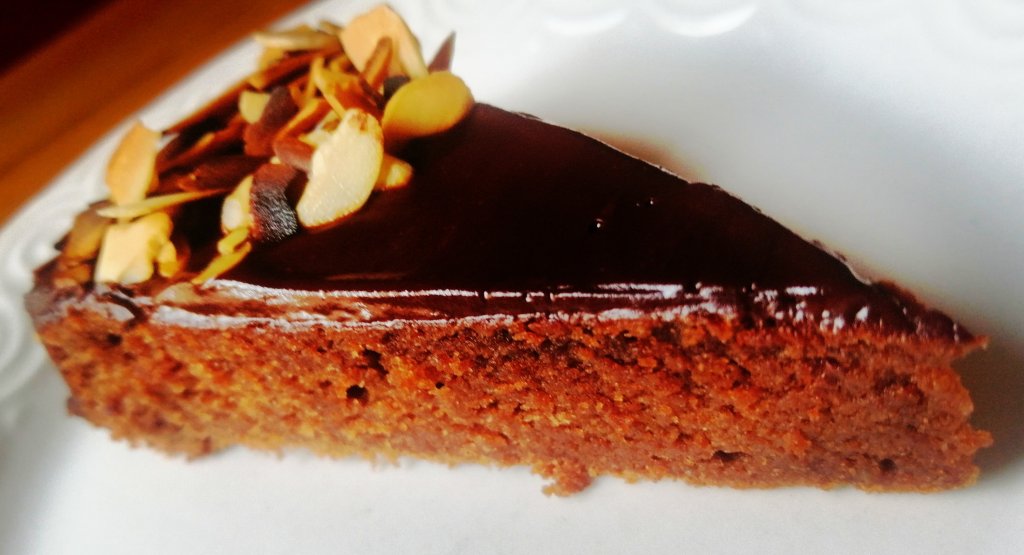
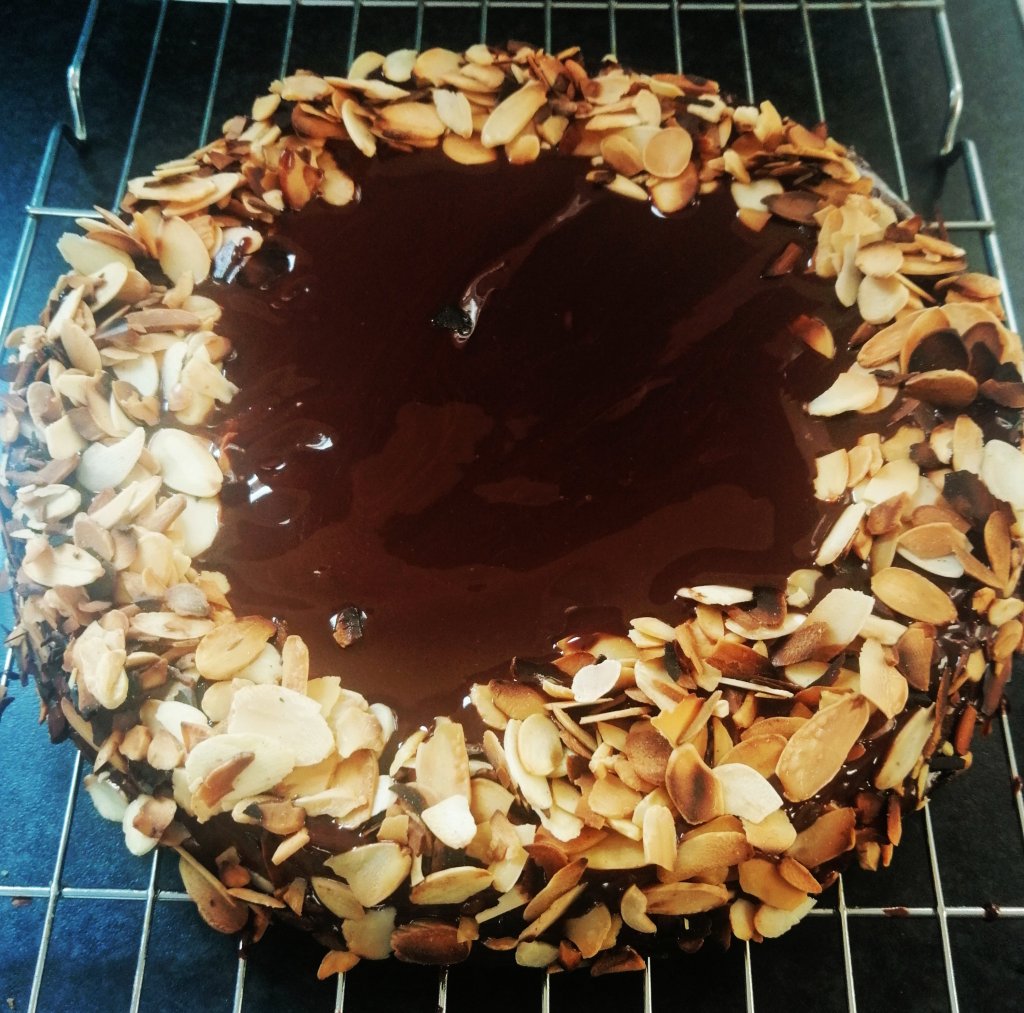
This isn’t the depression era recipe (because lets face it butter makes everything taste better).  I’ve used a cream cheese frosting and grated chocolate but you could also use nuts as a topping too.  I baked this as a sheet pan cake, but you can also split it between two 6 inch cake tins if you want to make this as a two tier cake.

Ingredients

120 Grams Butter (room temperature)

200 Grams Sugar

2 Eggs

1 Tsp Vanilla extract

210 Grams Plain flour

1 Tsp Baking soda

1 1/2 Tsp Ground ginger

1 1/2 Tsp Ground cinnamon

1 Can Campbell’s condensed tomato soup (do not add water)

For the topping

200 Grams Cream cheese

100 Grams Icing sugar

50 Grams Dark chocolate (grated)

Method

  • Preheat your oven to 170 degrees (Celsius)
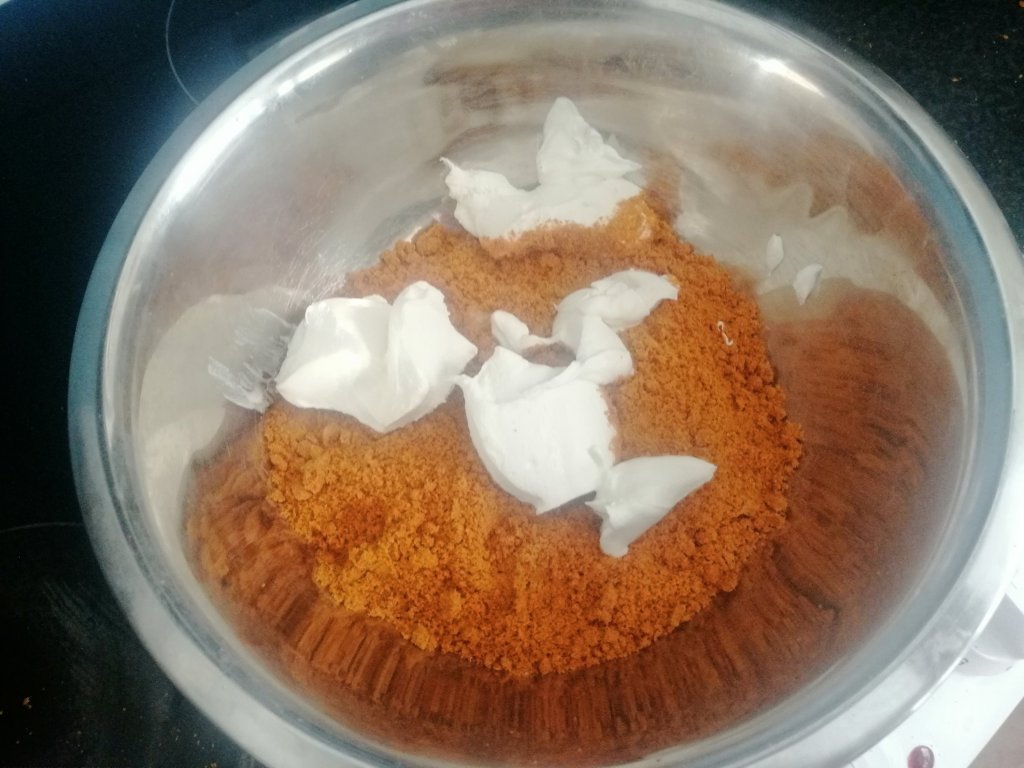
  • Using a stand mixer or electric whisk, cream the butter and sugar together until light and fluffy
  • Add the eggs, one at a time.  Mix well, and don’t panic if the mix looks like it’s curdled a little.
  • Add the vanilla extract, and dry ingredients and mix until it forms a smooth batter
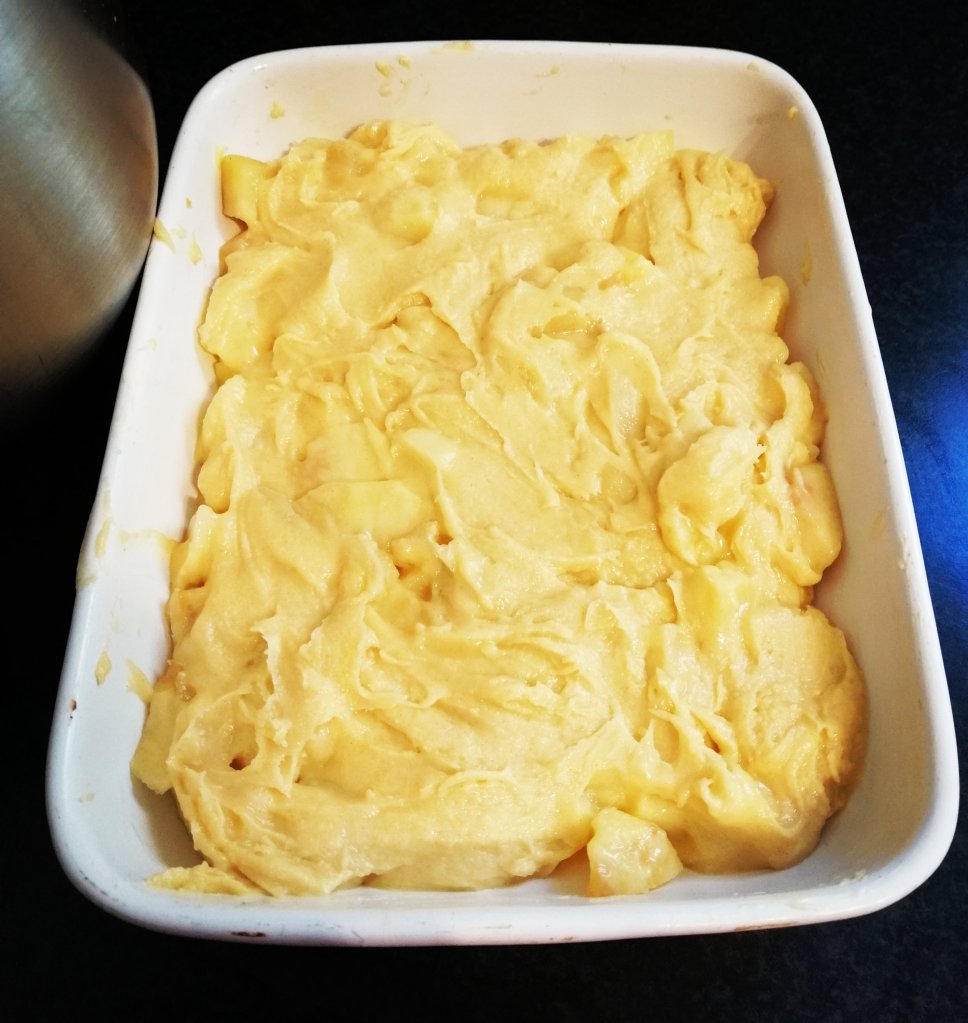
  • Add the tomato soup concentrate to the mix, and fold in thoroughly with a spatula until there no more streaks in the mix
  • Line a 9in x 12 in cake tin with baking parchment.
  • Pour the mix into the cake tin and spread evenly, make sure to get the mix right into the corners.  Bake for 45-50 minutes before checking the centre with a tooth pick (if it comes our clean the cake is ready, if not give it a few extra minutes)
  • Allow the cake to cool completely before topping with the frosting
  • To make the icing, whisk the icing sugar and cream cheese together drape a tea towel over the bowl to stop the icing sugar billowing up
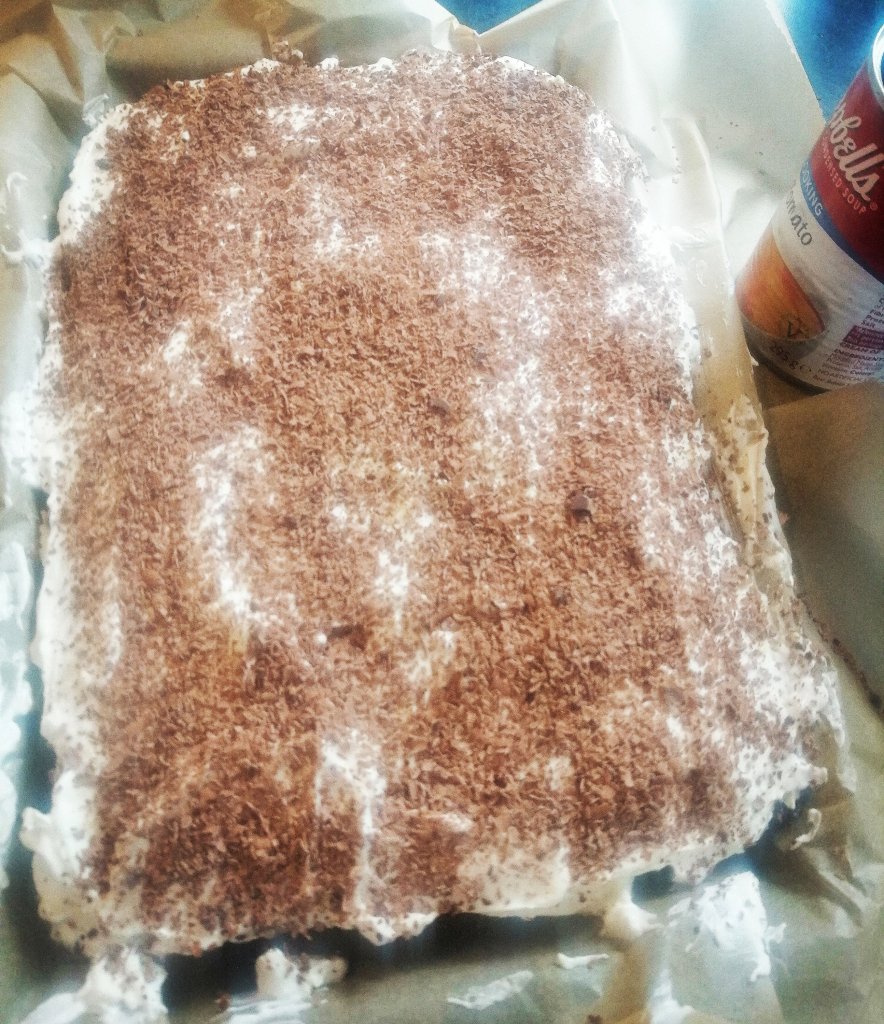
  • Once all the ingredients are combined, spread evenly across the the cake which should now completely cold
  • Sprinkle with grated chocolate or crushed walnuts

Biscoff Bon Bons (only 3 ingredients)

I love a simple recipe, and if it doesn’t require a ton of ingredients even better.

These make a nice gift, and are fairly easy to make.  You need to reduce the Biscoff biscuits to fine crumbs.  You can do this by putting them into a plastic bag bashing the living daylights out of them (great as stress relief) . An easier way is to blitz them in a food precessor until you have fine crumbs, (you might have to do this in two batches). You can halve the recipe if you want to make a smaller batch.

If you want to make these a little bit more grown up can also add a tablespoon or two of your favourite booze.

Makes between 36-40

500 Grams (reduced to very fine crumbs)

250 Grams Cream cheese

300 Grams Dark chocolate

Method

  • Add the cookie crumbs and cream cheese to a large bowl and mix until thoroughly combined
  • Line or lightly grease a try. Take a small teaspoon of the mixture roll it into a ball about the size of a cherry, and place on the tray. I usually keep a bowl of water beside me when doing this, as its easier to do if your hands are slightly wet. Continue making small balls of the mixture and put on the prepared tray until it has used up.
  • Put the tray in the fridge and chill for 1 hour
  • Break the chocolate into small pieces and place in a microwave proof dish. Microwave for 30 seconds at a time (stirring in between each blast so it doesn’t burn) until the chocolate has melted
  • Using 2 forks to lift the bon bons, dip into the chocolate and place back on the tray. Repeat until all the bon bons have been coated. Allow them to set for an hour in the fridge then transfer to an air tight container, or place in tiny paper cups if you’re feeling fancy

Ginger and Orange Rolls

I love a cinnamon roll, but being the distracted shopper that I am, I picked up ground cumin instead of cinnamon. Luckily I realised this before making the filling (let’s face it, it would be disgusting). After rifling through the cupboards I founds some ground ginger and decided to take a gamble and these actually turned out really well. So these are perfect for those of you who hate cinnamon, but feel free to substitute with cinnamon if you love it. The orange also gives a nice hint of freshness.

This is a relatively straight forward recipe based on a recipe from Sally’s Baking Addiction.   Her recipe doesn’t use orange, so if its not your thing you can leave it out.  Some cinnamon roll recipes involve proving the dough over night etc, I like this recipe as the dough only needs to prove once. These are delicious with a coffee but are also ideal if you making brunch and will disappear in 5 minutes.

Ingredients

For the dough

400 Grams Plain flour

50 Grams Sugar

1/2 Tsp Salt

45 Grams Butter

180 ml Milk

2 & 1/4 Tsp Dried yeast (or 1 sachet)

1 Egg

For the filling

45 Grams Butter (very soft)

Zest of 1 orange (save the rest of the orange, as you’ll be adding the juice to your icing)

65 Grams Brown Sugar

1 Tbsp Ground ginger

For the icing

115 Grams Cream Cheese

30 Grams Butter

80 Grams Icing sugar

Juice from half the orange you zested

Makes 10-12

Method

  • For the dough, add the flour, sugar, and salt to a bowl and set to one side
  • In a bowl in the microwave, or in a pot on the stove gently melt the butter in the milk until it is warm to the touch but not hot (you will be adding yeast to this, and if it’s too hot it will kill the yeast).  Whisk in the yeast until it is dissolved
  • Pour the milk mix and egg into to the dry ingredients and stir well until you get a soft dough. You can then use the dough hook in a stand mixer to knead the dough or turn it out onto a well floured surface and knead for 5 minutes
  • Lightly grease a large bowl and put the dough in the bowl and rest for 10 minutes
  • While the dough is resting combine the ginger, orange zest and brown sugar for the filling
  • Once the dough has rested, roll it out into a rectangle about 14 x 8 inch or 36 x 20 cm.  Spread the softened butter for the filling evenly across the rolled out dough, and sprinkle evenly with the cinnamon mix
  • Roll the dough into a long log (should be 14 in or 36cm long), cut into 10-12 equal slices.  Grease a large baking dish (I find metal baking dishes are best for this, but use what you have) and place the slices of dough in the dish (cut side up).  Cover with a tea towel and allow to rest for 60-90 minutes in a warmish area until the dough has doubled in size
  • Preheat your oven to 190 degrees (Celsius), bake the rolls for 25-30 minutes (cover loosely with kitchen foil if they are browning too quickly)
  • To make the icing, add the ingredients to a bowl, and whisk until thoroughly combined.  Spread the icing evenly over the warm rolls with a spatula.  (when cooled these can be stored in an airtight box in the fridge for up to 5 days, but trust me they won’t last that long)

Queen of Sheba Cake (Reine de Saba)

Sometimes I make things simply because the name tickles me, (blue moo pie, hummingbird cake etc).

I heard of this cake when reading about the legendary foodie and promoter of French cuisine, Julia Childs, and decided I had to make it.

This is a single layer cake, and is quite light, unlike some super rich dense chocolate cakes. It’s perfect if you don’t want something too heavy at the end of a meal, but is also delicious with a coffee if you feel the need for a little afternoon pick me up.

This recipe has some rum in it, but if you don’t do alcohol or just don’t like rum you can replace it with 2 tablespoons of strong coffee.

Serves 8

Ingredients

For the meringue

Pinch of Salt

3 Eggs (separate the yolks and whites)

1 Tbsp Sugar

For the cake

115 Grams Butter (Softened)

150 Grams Sugar

115 Grams Dark chocolate (melted)

2 Tbsp Rum, or strong black coffee

25 Grams Ground Almonds

1/4 Tsp Almond extract (optional)

60 Grams Plain Flour

For the decoration

2-3 Tbsp Flaked almonds

60 Grams Dark chocolate (melted)

60 Grams Butter (melted)

Method

  • Preheat your oven to 180 degree (Celsius), and prepare a 9 inch cake tin, but rubbing it with butter and then dusting the inside with a little flour (this will stop your cake sticking to the tin)
  • Add 3 egg whites and a pinch of salt to a bowl, and either in a stand mixer or with an electric whisk, whisk until they start to froth before adding a tablespoon of sugar. Whisk until the egg whites are firm, and you can turn the bowl upside down and the meringue stays in the bowl (be careful doing this so you don’t end up with meringue all over your floor). Set to one side
  • For the cake melt the 115 Grams of chocolate in the microwave, (I use blasts of 30 seconds at a time to make sure the chocolate doesn’t burn), and allow to cool slightly
  • In another bowl, slow whisk the butter and sugar together until it is light and fluffy, gradually add the egg yolks. Add the slightly cooled chocolate, and then the ground almonds, and flour until well mixed
  • Add 1/3 of the meringue mix to the chocolate mix, and mix in with a spatula, with help loosen the chocolate mix. Add the next 1/3 of the meringue mix and gently fold this into the chocolate mix with a spatula (this will help keep the air in the cake mix to keep it light. Fold in the remaining meringue mix ensuring it is thoroughly folded through before transferring to your prepared cake tin
  • Make for 16 minutes (there should still be a little wobble in the centre) . Allow to cool in the tin for 10-15 minutes before turning out onto a wire wrack to cool
  • When the cake is cool, toast the flaked almonds in a dry frying pan for a couple of minutes, keep moving them around so they toast evenly and be careful as they can burn easily.
  • Melt the chocolate and butter for the topping in a bowl in the microwave (try blasts of 30 seconds and stir in between blasts to make sure it melts evenly), mix well when finally melted
  • Pour the chocolate and butter mix over the cake and spread evenly to make sure it runs down the sides evenly (I put a plate under wire wrack to catch any icing that runs of the cake and save mess)
  • Sprinkle the edges and sides of the cake with the toasted almonds (store in an airtight box if not eating immediately)

Mini Egg/Chocolate Chip Cookies

I love eating things other people make and one of my workmates made these and I was instantly addicted. So a big shout out to Christina for being kind enough to give me the recipe.

Christina’s recipe uses dark chocolate (either chips or chopped up chocolate), but because it coming up to Easter I decided to use smashed up mini eggs which are my total downfall. These cookies are also a great way to use up any random chocolate you have lying about after Easter.

You can make the dough a day or two before and keep it in the fridge so that all you have to do is cut it and bake when you need them (if you’re having friends over this means less last minute scurrying around and you appear like a serene domestic goddess with an oven full of delicious cookies)

Ingredients

350 Grams Plain Flour

1 Tsp Bicarbonate of soda

1 Tsp Salt

225 Grams Butter (room temperature and cut into chunks to make it easier to cream with the sugar)

175 Grams Soft brown sugar

50 Grams Caster sugar

1 Tsp Vanilla extract

2 Eggs

350 Grams Smashed up mini eggs (or use chocolate chips or chopped dark chocolate)

Makes 24

Method

  • In a bowl combine all you dry ingredients (don’t add the chocolate yet)
  • In a separate bowl combine the butter. both types of sugar, add vanilla extract and mix until creamy, I used a stand mixer for this which makes it a lot easier but an electric whisk will also do the job
  • Beat the eggs into the butter mixture, and then gradually add the flour. Then stir in our chocolate pieces (I folded them in using a large spoon so that they didn’t get too broken up an electric whisk.
  • Split the dough into 2 halves, and roll each half into a sausage shape roughly 5cm in diameter and wrap each sausage in cling film before chilling in the fridge for at least half an hour
  • Preheat you oven to 190 degrees (Celsius), you’ll probably need a couple of baking sheets, and these should be lined with baking parchment
  • Cut the chilled cookie dough into 2cm think slices and transfer to you baking sheet leaving room for them spread as they cook. Bake for 10-12 minutes

Persian Love Cake

This cake tastes and smells unbelievable!

Yasmin Khan’s (The Saffron Tales), recipe marries zesty lemon, the warmth of cardamom and gentle fragrance of rose water in a cake rich with ground almonds. You’ll need 2-3 lemons in total, and a word of warning about rose water, don’t be tempted to add more than stated in the recipe.

While there are a couple of steps to this cake its worth the effort, I decorated this with chopped pistachios and dried rose petals (you find these and rose water in most bigger Asian grocers (or you could use fresh petals if you’re lucky enough to have them in your garden). I don’t have an especially delicate touch when decorating cakes and my piping skills are questionable, so this is a good way to make your cake look beautiful with very little effort.

Legend has it that women in Persia would bake this cake to try and win the heart of men who caught their eye. So if you’re currently trying to get someone’s attention, it might be worth a try (and let me know if it works).

Serves 8

For the Cake

200 Grams Butter

150 Grams Caster sugar

4 Eggs

1 level tsp of Ground cardamom

100 Grams Plain flour

275 Grams Ground almonds

Zest and juice of 1 lemon

1 Tbsp Baking powder

1 Tbsp Rose Water

For the Drizzle

2 Tbsp Caster Sugar

1/2 Tsp rose water

Juice of 1 lemon

For the icing

150 Grams Icing Sugar

Juice of 1 lemon

Top with chopped pistachios and dried rose petals (optional, but it will make your cake look really pretty)

  • Preheat your oven to 160 degrees (Celsius). Line a 9 inch cake tin with baking parchment (ideally one with a removable base)
  • In a large mixing bowl, cream your butter and sugar together thoroughly and then beat in the eggs one at a time, (using a stand mixer if you have one is a quick way to save yourself a lot of work)
  • Gradually add the rest of the ingredients and mix until well combined. Transfer to your lined cake tin and bake for 45 minutes, (test the centre of the cake with a tooth pick, it should come out clean, but if it doesn’t then bake for another 5-10 minutes and test again). Cool in the tin for 10-15 minutes, before transferring to a wire wrack to cool
  • In a small saucepan heat the ingredients for the drizzle, until the sugar has melted. Remove from the heat and allow to cool
  • When the cake has cooled poke random holes in the cake with a toothpick, sprinkle over the cooled drizzle as evenly as possible, I allowed the cake to sit for about an hour to allow the cake to absorb the drizzle and it’s yummy flavours)
  • To make the icing just add lemon juice to the icing sugar and mix well to ensure there are no lumps before spreading it evenly across the cake
  • Sprinkle with chopped pistachios and rose petals
  • This cake will live for 3-4 days in an airtight tin, but will probably not survive that long

Pavlova

It’s Mother’s day and though she isn’t with us any more, I made my Mum’s signature dish, Pavlova. She wasn’t a fantastic cook, but she made a mean Pavlova. I didn’t ever get her recipe. So if you have a loved one who makes something you adore, remember to spend the time with them and get them to teach you how to make it. Food is one of the best ways to keep a little bit of that person with you.

Meringue has always been my culinary nemisis. I’ve struggled to make a decent one for years and I think I’ve cracked it thanks to the sainted Mary Berry (this is her recipe) .

I’ve used the traditional strawberries, but you can use any fruit you prefer.

This is a real crowd plesser, and is also a delicious gluten free dessert. Don’t panic if the meringue cracks, the topping will hide this, and the marshmallowy centre is a nice contrast to the crunchy exterior.

You can make the meringue the day before (keep in an airtight box) and decorate just before serving.

Ingredients

Serves 8

For the meringue

6 Egg whites

350 Grams Sugar

1 Tsp cornflour

1 Tbsp Vinegar

Topping

250 ml Whipping or double cream

Berries or other fruit to decorate

Method

  1. Pre heat your oven to 150 degrees (Celsius)
  2. Add your egg whites to the bowl of your mixer and at a high speed until it reaches firm peaks
  3. Continue mix and add the sugar a spoonful at a time, then add the cornflour and vinegar (which should be mixed together before adding to the meringue mix
  4. Draw a circle on a sheet of parchment paper and put a small dab of meringue on the corners of a baking sheet before laying the parchment on top (this helps keep it in place)
  5. Spoon your meringue on the circle you drew on the parchment (I like to keep meringue a quite tall, but you can go for a slightly flatter wider one if you prefer)
  6. Place in the oven, and lower the heat to 140 degrees, bake for 1 hour, then the oven off and open the oven door slightly. Leave the meringue in the oven until it is entirely cold
  7. Just before you are due serve, top with whipped cream and strawberries

“Chinese” Sausage Rolls

I don’t pretend that this is an authentic Chinese recipe, but the flavours used always reminds me of Chinese food.

I use ready roll puff pastry which makes these quick and easy to make.  They also freeze really well.

I sometimes dip these into sweet chilli sauce which is sublime but they are also pretty fabulous on their own.

Makes between 8 and 10

Ingredients

1 Large sheet ready rolled puff pastry

500 Grams Lean pork mince

50 Grams Breadcrumbs

1 Tbsp Ginger (grated)

2-3 Cloves of garlic (finely chopped)

2-3 Scallions/spring onions (finely sliced)

1/2 Tbsp Sesame oil

1 Tsp Chinese 5 spice powder

1 Tsp Chilli powder

1 Tsp Salt

1 Egg yolk

Sesame seeds (optional)

Method

  • Preheat your oven to 180 degrees
  • Add the pork, garlic, ginger, breadcrumbs, scallions, spices, and sesame oil to a large bowl and mix with your hands until well combined
  • Unroll the puff pastry, and evenly spread the pork mix in an even line down the centre of the pastry
  • Brush the long edges of the pastry with egg yolk.  Bring the long edges of the pastry together and together by crimping with your fingers or a fork.
  • Brush the long log created with egg yolk (and sprinkle with sesame seeds if you are using them).  Divide the long roll into 8 or 10 pieces and transfer to a baking sheet
  • Bake for 40 minutes or until the pastry is a deep golden brown

Chocolate Crackle Cookies

I have to give props for the recipe to Deborah Robertson @lickedspoon, who I think got it turn from Martha Stewart (I love recipe family trees).

These cookies are a bit of a faff but they are well worth it. You need to chill the dough for at least 4 hours. I made the dough in the morning, then got on with my day while it chilled. You can do this, and by the time you bake them your house will smell devine and you’ll be worshipped as the domestic God/Goddess that you are.

You can make the dough a day or two in advance if you’re busy and it also freezes well. (freeze the dough before you roll it in sugar). These are pretty indulgent, but it is Christmas.

The original recipe says to add Kalhua or Tia Maria. I was making these for kids so I left it out, but definitely looking forward to making the adult version next time.

Makes 30

Ingredients

120 Grams Good quality dark chocolate

180 Grams Plain flour

50 Grams Cocoa powder

100 Grams Butter (room temperature)

2 Tsp Baking powder

1/2 Tsp Salt

2 Eggs

200 Grams Brown sugar

2 Tsp Vanilla extract

80 Mil Milk

2-3 Tbsp Castor sugar

2-3 Tbsp Icing sugar

Method

  • Melt the chocolate in the microwave, giving it 30 second blasts, and stirring regularly (be care not to burn it). Allow to cool slightly
  • Cream the butter and brown sugar together in a stand mixer or with an electric whisk until light and fluffy
  • Mix all your dry ingredients together
  • Gradually add the vanilla and eggs to the butter and sugar and whisk at medium spead. Then gradually add all the ingredients and mix until it comes together as a dough, don’t over mix
  • Put a good sized sheet of cling film on your counter, empty half the dough onto it before forming it into disk. Wrap with the rest of the cling film and refrigerate it for 3-4 hours. Repeat with the second half of the dough
  • When the dough has chilled, preheat your oven to 180 degrees (Celsius), and line a couple of cookie sheets with parchment paper
  • Place the castor sugar and icing sugar into two separate bowls (your hands will get sticky later on, so it’s also a good idea to have a bowl of cold water too).
  • Remove the dough from the fridge and unwrap it, and break of lumps about the size of a walnut and roll into a ball. Roll the ball in the bowl of castor sugar, making sure its well coated. Then roll it in the bowl of icing sugar and place on the baking try
  • Make sure to leave space between the balls of dough as they will spread.
  • Bake for 10 minutes and allow to cool before trying to move as they will very soft until they cool

Eve’s Pudding

With colder weather and darker evenings coming in all I want is comfort food.

This was one of my favourite desserts from school and is basically an apple sponge. Whatever you decide to call it, it’s delicious and even better with custard, or ice cream.

I’ve used eating apples, but you could use cooking apples if this what you have (just remember to add some extra sugar if the apples are very tart).

You can also use different fruit, like plums, pears, or rhubarb.

Ingredients

120 Grams Butter (plus extra for greasing the baking dish)

120 Grams Sugar

120 Grams Self Raising Flour

2 Eggs

1/2 Tsp Vanilla Extract

6 Dessert Apples

Icing Sugar (optional)

Method

  • Peel and core the apples, and cut into 3-4cm cubes. Put in a pot with a splash of water and cook over a medium heat for 5-10 minutes until the apples start to soften. You can cook the apples for longer if you prefer, but I like them to still have a bit of texture. Allow to cool slightly
  • Preheat your oven to 180 degrees (Celsius)
  • In a large bowl, beat the butter and sugar together until it becomes light.
  • Add the vanilla and one egg to the butter and sugar and continue mixing. Add a couple of spoonfuls of flour and the next egg and gradually add the rest of the flour while mix (this should stop the cake mix looking like it has curdled. If this happens don’t panic, just add a spoonful of flour and keep mixing
  • Transfer the apples to an oven proof dish (about 1-1.5 litre dish should be fine). Drain off any excess liquid and top with the cake mix before spreading it evenly across the top of the apples
  • Bake for 40 minutes, stick a skewer or toothpick in the middle of the pudding. If the skewer comes out clean the your pudding is ready, if not cook for a further 5 minutes and try again
  • Allow to cool slightly, and dust with icing sugar if you’re feeling fancy
  • Serves with custard or cream, or ice cream