Like everyone else I’m trying to improve how I eat by eating more protein and fibre and less ultra processed foods.
I buy protein bars occasionally if I’m on the go and am always shocked at how expensive they are and how many unhealthy ingredients they actually have.
These cost a fraction of the price and are a lot healthier. Yes there is sugar in these but it’s natural sugar in the form of honey/maple syrup and not something cooked up in a lab that none of us can pronounce.
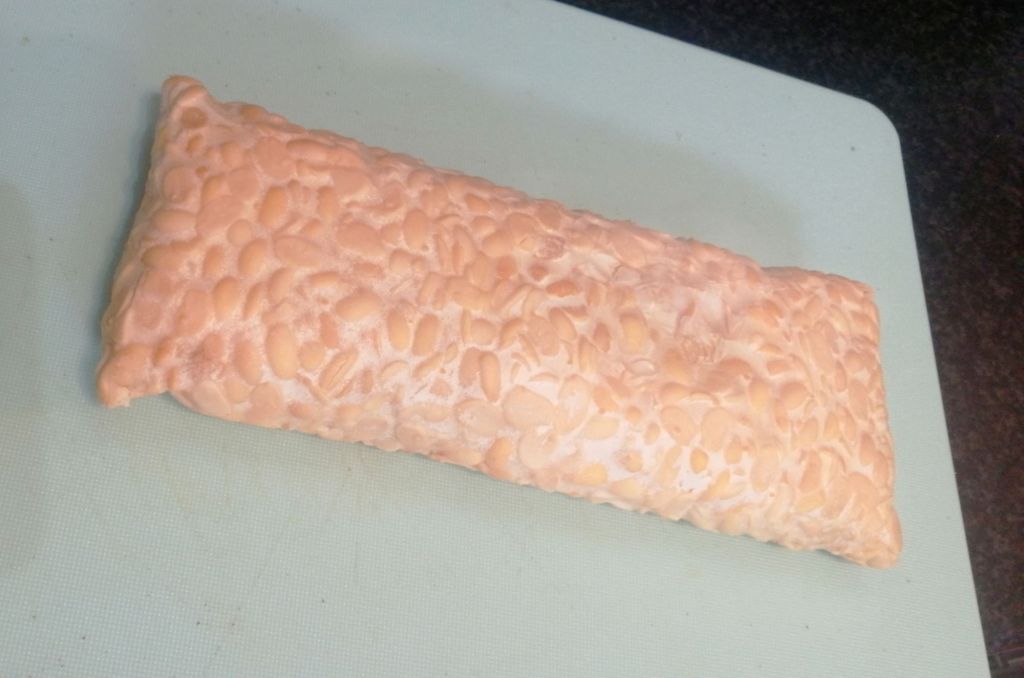
I have made these into bars but you could also make these into protein balls and dip them in chocolate or roll then cocoa powder or crushed nuts if you prefer.
Makes 8
1 Can of Black beans (400ml), drained
80 Grams Rolled oats
3 Tbsp Peanut butter
30 Grams Cocoa powder
1 Tsp Cinnamon (optional)
2-3 Tbsp Maple syrup (I didn’t have this, so I used honey instead, add more or less depending on how sweet you like things)
Tor the topping
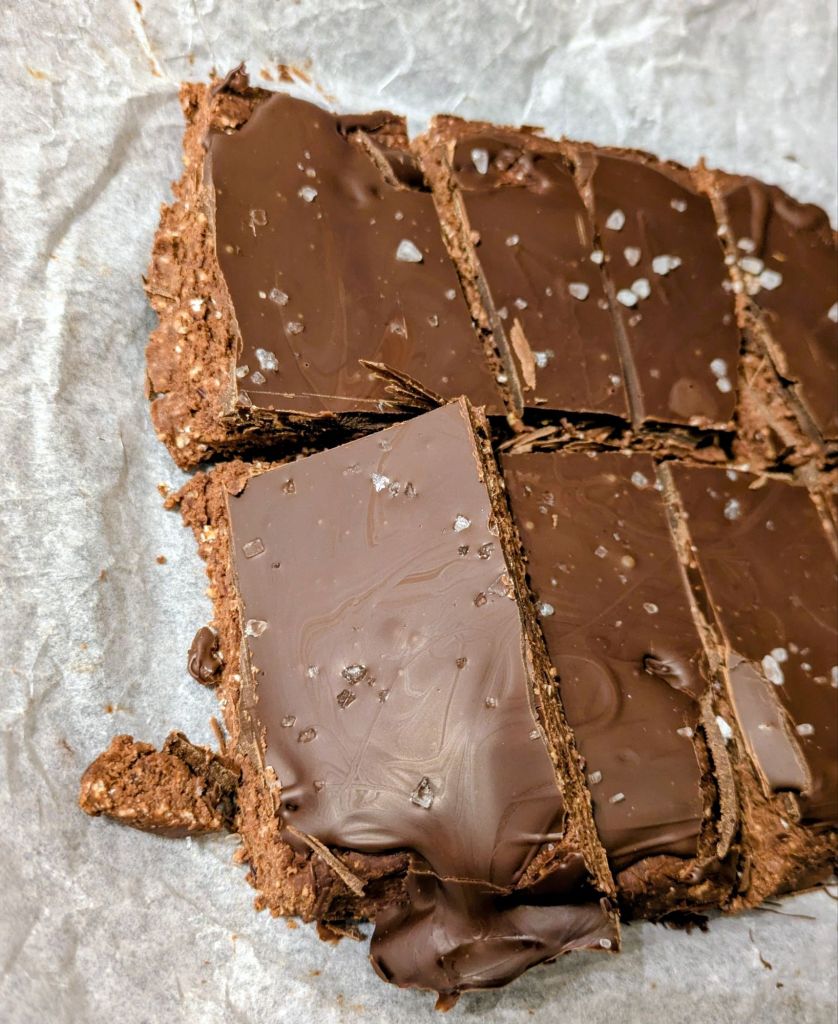
100 Grams Dark chocolate (melted)
Sprinkle of sea salt (optional)
Method
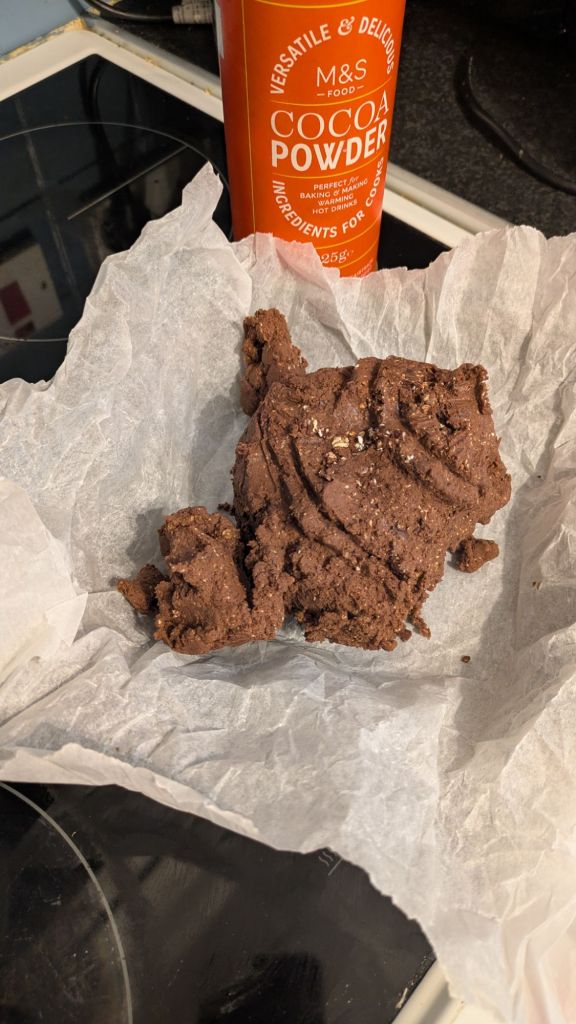
- Add the beans to a food processor and whiz for 1-2 minutes until the beans have broken down.
- Place the rest of the ingredients in the blender and whiz again for another minute. Check if you want to adjust the taste by adding more cinnamon or maple syrup.
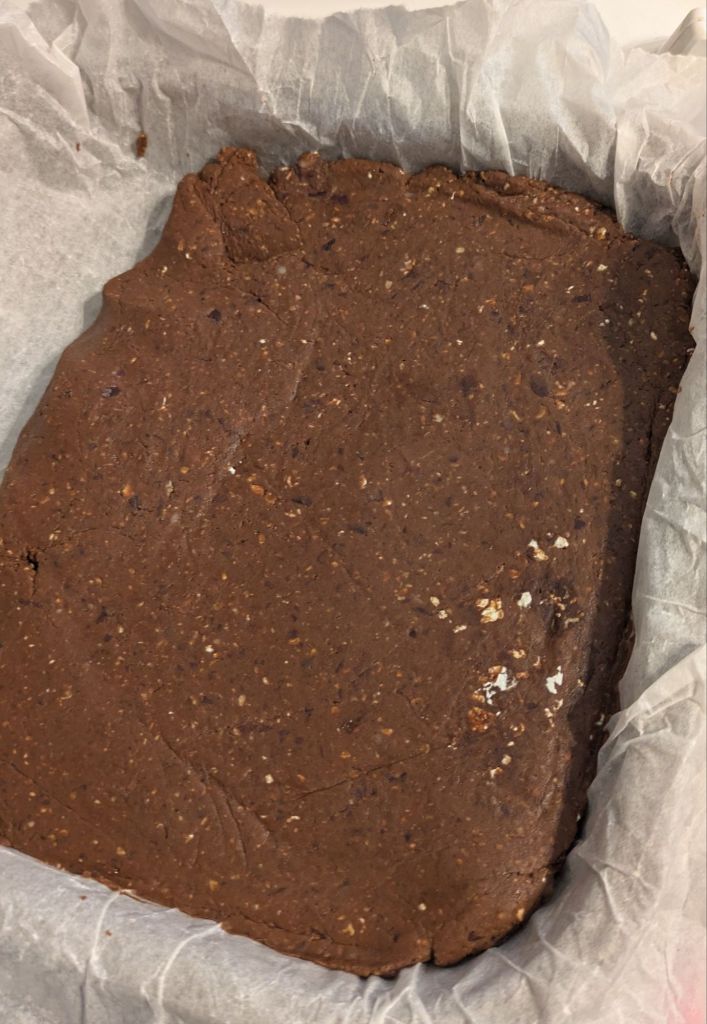
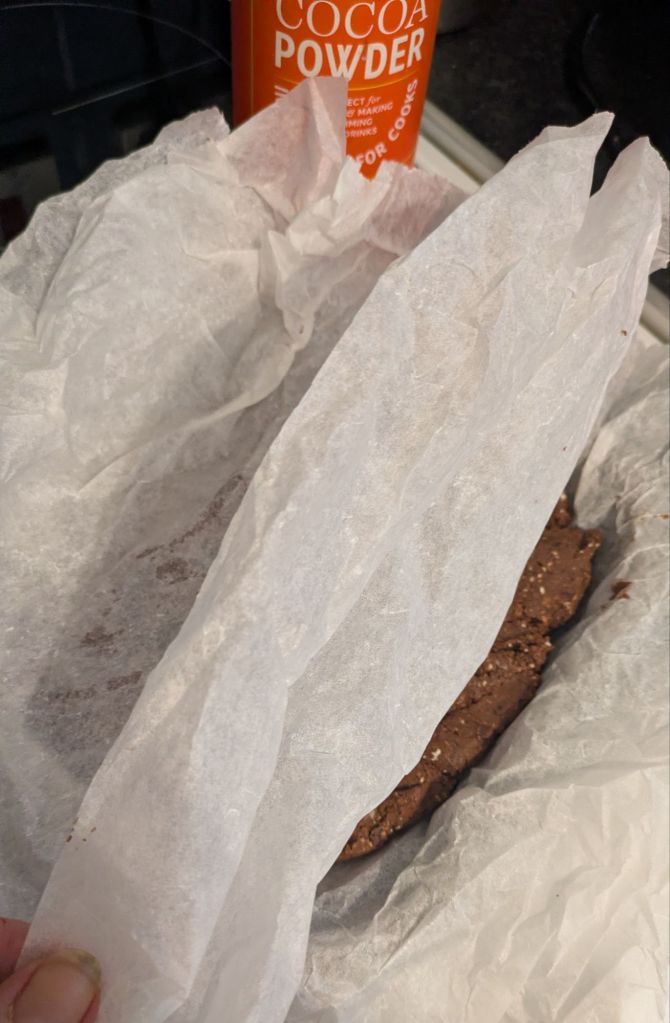
- The mix should start to form a ball in the food processor. Transfer it to a shallow dish lined with baking paper and place another sheet on top. Gently press down on the top sheet of paper (I used a cup to roll across the mix and smooth it until the mix was 2-3cm deep.
- Cover a place in a fridge to set for at least 1 hour
- When the bars come out of the fridge, melt your chocolate in a bowl in the microwave (give blasts of 30-40 seconds at a time to make sure it doesn’t burn). Spread evenly across the bar mix and sprinkle with salt or nuts.
- Allow the chocolate to set before cutting into bars. Keep in an airtight container for up to 4-5 days.