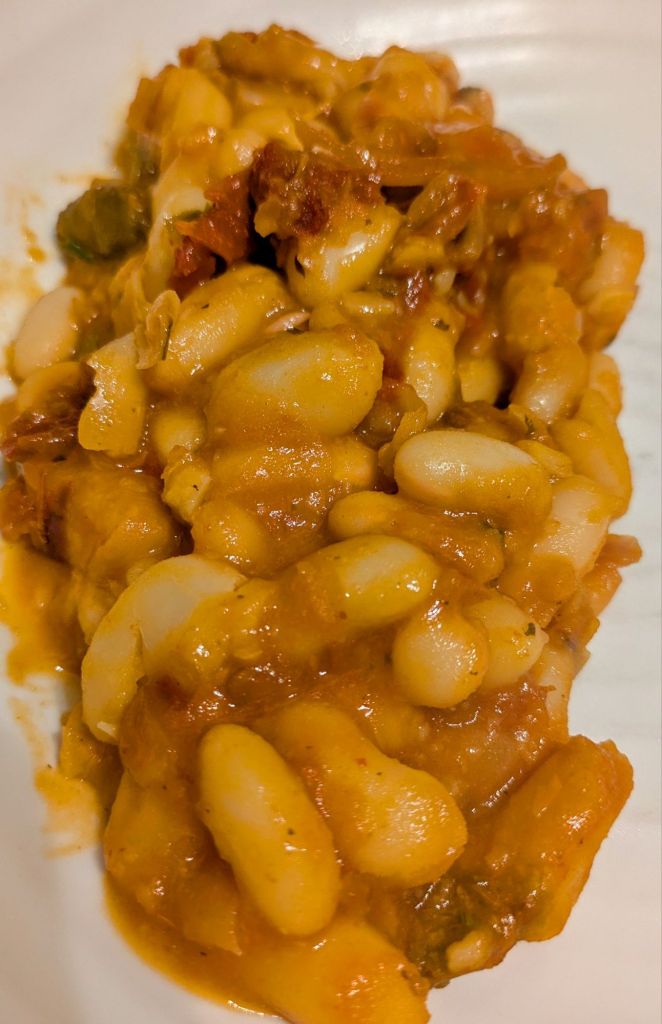
It’s comfort food weather, and if like most of us you’re trying to increase the amount of protein you’re eating these are perfect.
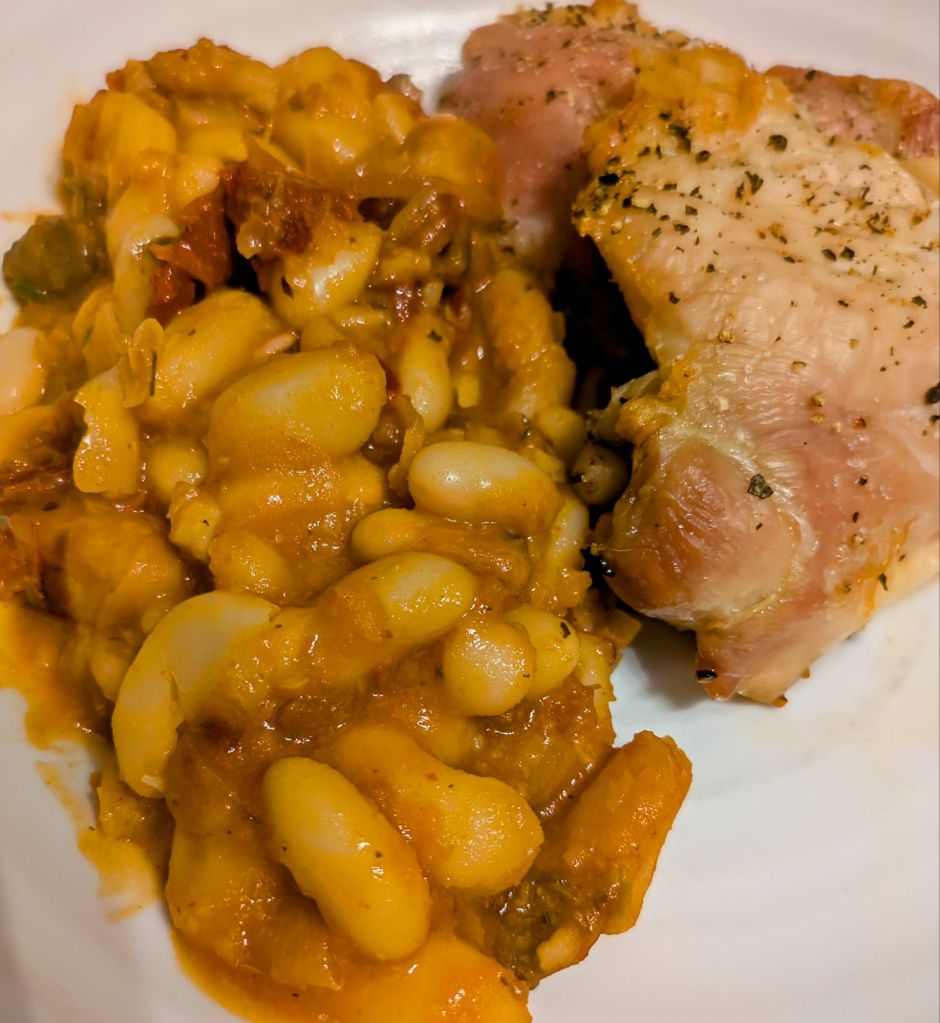
I can eat a big bowl of these on their own with some crusty bread, but they also make a tasty side dish.
This is quick and easy to make, using tinned beans but you can use dried beans but these usually need soaked overnight and should be cooked according to the instructions on the packaging.
Ingredients
2 x 400ml Cannelloni beans (drained)
1 Tbsp Tomato puree
125ml Vegetable stock
2 x Cloves of garlic (finely chopped
1 Large sprig of rosemary or 1 teaspoon of dried rosemary
1 Tbsp Oil
1 Onion (finely chopped)
4-5 Sun dried tomatoes
Salt and pepper
Method
- Heat the oil in a large pan and fry onion gently until it starts to caramelise, stirring occasionally.
- Stir the tomato puree into the pan and cook for another 2 minutes before adding the beans and vegetable stock. Stir well and simmer for 10 minutes.
- With a fork or potato masher gently mash about a third of the beans. This will release the starch in the beans that will help thicken the beans and give the beans a creamy texture.
- Stir in the sundried tomatoes and rosemary, and simmer for 5 minutes. Check the seasoning and add salt and pepper if you think it needs it.