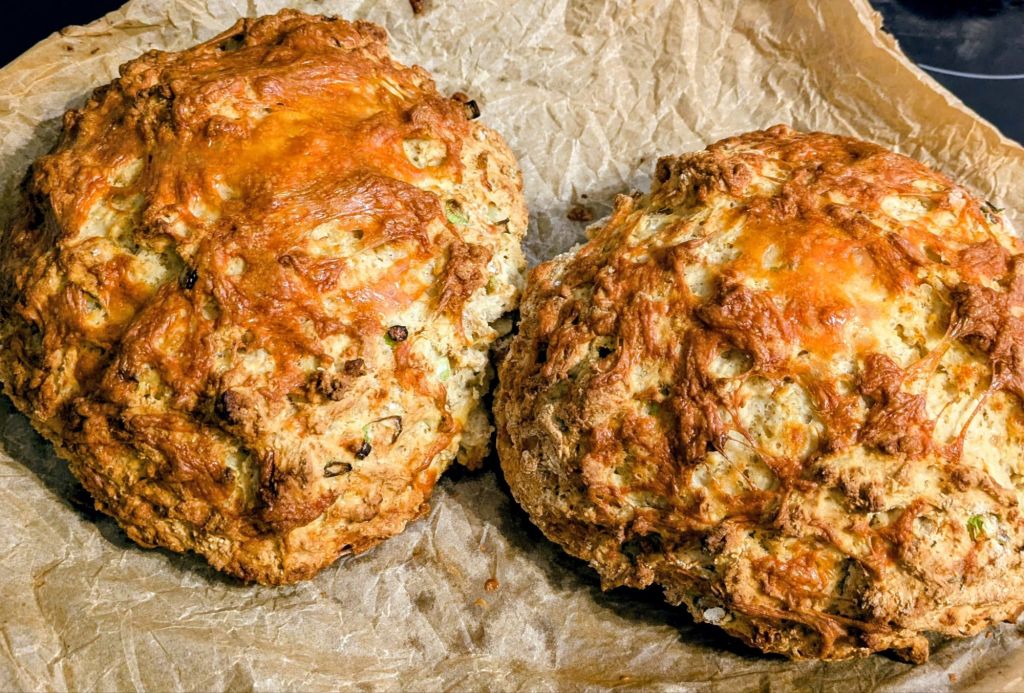
Happy Saint Patrick’s day. To celebrate I decided to make what is one of the quickest, easiest and most delicious breads you can make.
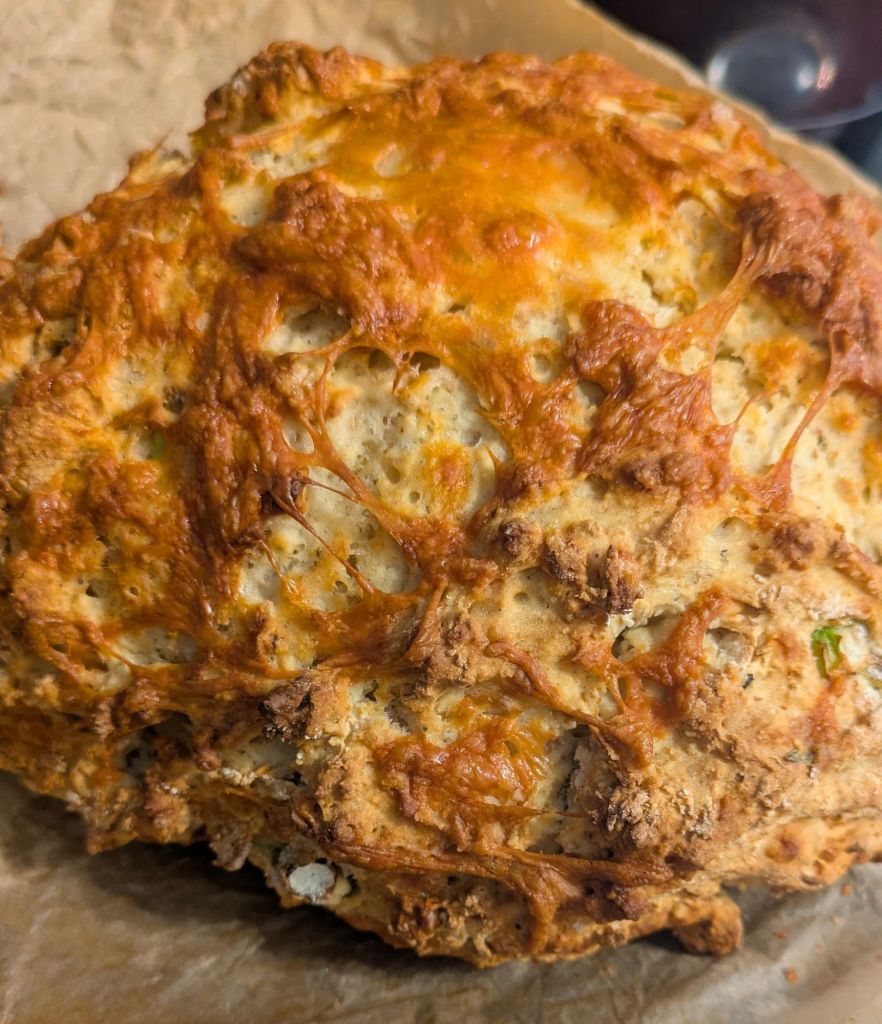
This bread has no yeast and doesn’t need to prove or be kneaded. You can make it and have it in the oven in 5 minutes. I’ve fancied this up with scallions (spring onions) and sharp cheddar cheese but it can still be tasty without these.
Soda bread needs to be made with butter milk (the acid causes a chemical reaction needed to make it rise). If you don’t have this add a tablespoon of lemon juice to normal milk and leave for 10 minutes before using.
This recipe makes enough for 2 loaves (I’m getting into batch cooking as it saves time and money), and I’ll freeze one to use another time. You halve this recipe if you prefer.
Ingredients
700 Grams Plain white flour
4-5 Scallions/Spring onions (finely chopped)
400-500ml Butter milk
100 Grams Cheddar cheese (grated)
2 Tsps Bicarbonate of soda
1 Tsp Salt
1 Tsp Thyme (optional, I had some growing in a window box and used it, but can use other herbs if you prefer)
Method
- Preheat your oven to 220 Degrees (Celsius)
- Line a baking sheet with grease proof paper
- Add all the dry ingredients into a large bowl.
- Stir in the butter milk until you start to get a soft ball, easier to use your hands for this (it shouldn’t be dry)
- Turn the dough onto a floured counter and devide in to two halves
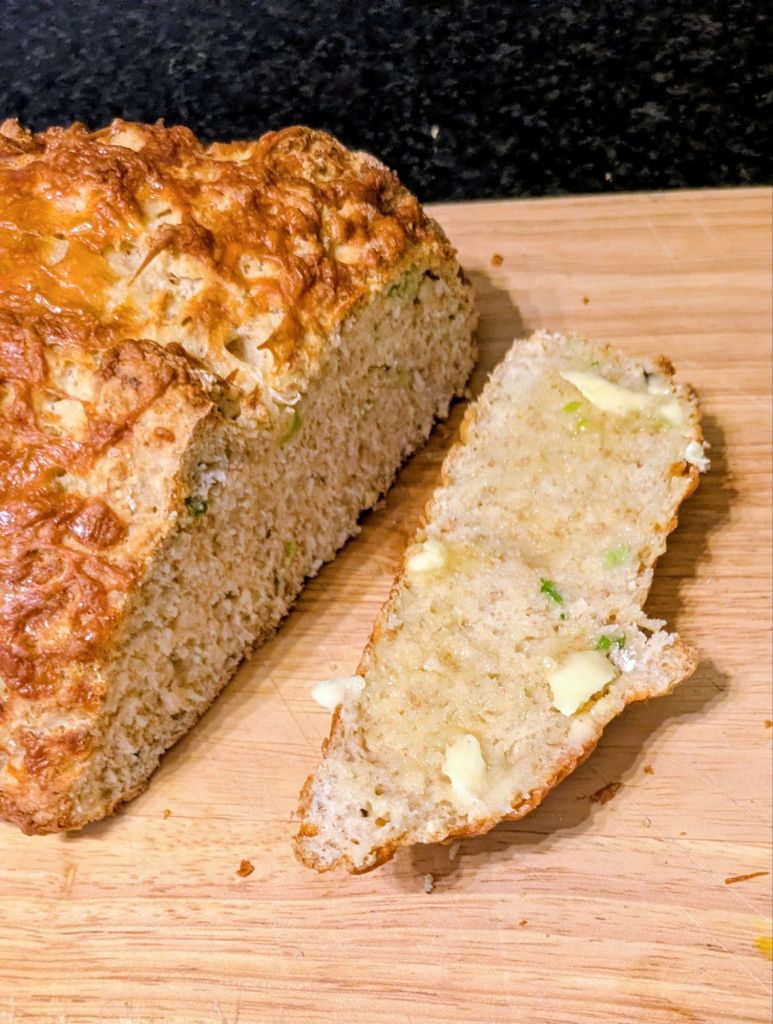
- Form each half into a ball, transfer to the lined baking sheet. With a large knife, cut a cross into each ball (cut about one third of the depth of the dough, don’t go too deep)
- Bake for 20-25 minutes or until the bread sounds hollow when you tap the base