Before tiramisu purists start, I know this is not strictly speaking a tiramisu. I’m a card carrying coffee fiend, but I’m not a fan of coffee flavour in sweet things.
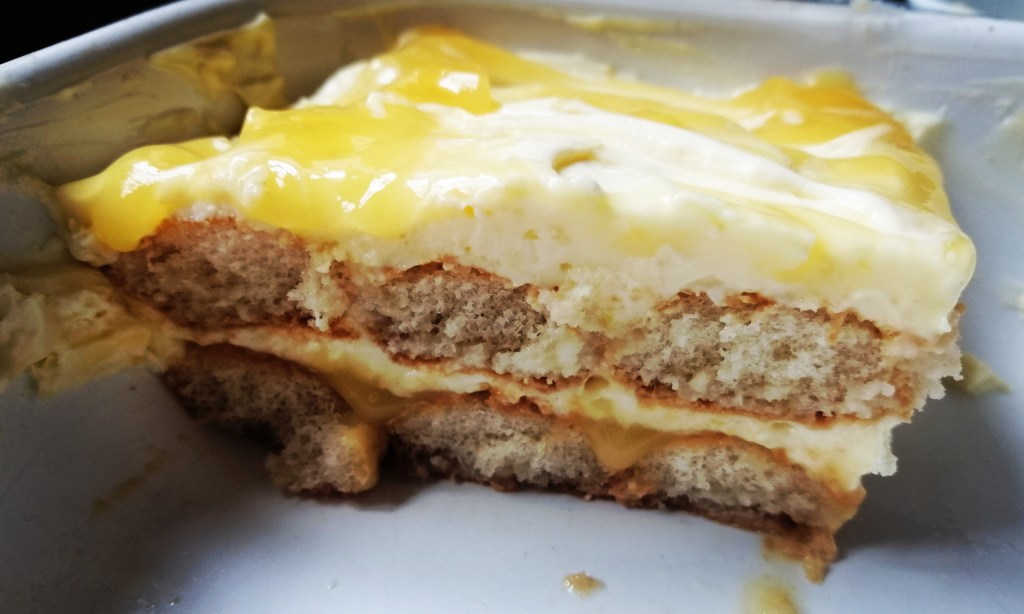
What I do love is lemon flavoured desserts. This recipe gives you the creamy unctuous texture of a tiramisu, with the refreshing tang of lemon that stops this being sickly sweet.

The coffee flavour is replaced with lemon and ginger tea, and a shot limoncello gives an extra zing of flavour. This is a good recipe if you’re entertaining, you can make it the day before and it’s easy to plate up.
(N. B. This recipe contains raw eggs and is probably best not served to potentially vulnerable groups like pregnant women, the elderly and very young children)
Ingredients
500 Grams Marscapone cheese
250 Grams Sponge fingers (lady fingers)
2 Eggs
125 Grams Caster sugar
1 Lemon and ginger teabag (you can use other fruit teas if you prefer, but I think this works well)
1 Lemon (juice and zest)
1 Shot of limoncello liquor (optional)
250ml Boiling water
200 Grams Lemon curd
Method
- Soak the teabag in the boiling water for 5-10 minutes before removing the teabag. Allow the tea to cool and add the limoncello to the tea
- Separate the eggs. Add the caster sugar, lemon juice and zest to the egg yolks and whisk with an electric whisk until light and fluffy. Add the marscapone and whisk again until the ingredients are combined
- In a separate bowl whisk the egg whites until they reach firm peaks. Fold the egg whites into the egg yolk mixture with a metal spoon, making sure its thoroughly combined
- Briefly dip half the sponge fingers in the lemon tea mixture and line a layer in a 9 x 12 inch dish. When you have a layer of dipped sponge fingers, spread this layer with one third of the lemon curd
- Top this layer with half of the marscapone mix
- Dip the remaining sponge fingers in the lemon tea mixture and lay on top. Spread this layer again with one third of the lemon curd
- Top with the remaining marscapone mix, dot the top with the remaining lemon curd and then drag a knife through it to create a marbled effect
- Cover with cling film and leave to chill in the fridge for 3-4 hours, or ideally overnight