I don’t pretend that this is an authentic Chinese recipe, but the flavours used always reminds me of Chinese food.

I use ready roll puff pastry which makes these quick and easy to make. They also freeze really well.

I sometimes dip these into sweet chilli sauce which is sublime but they are also pretty fabulous on their own.
Makes between 8 and 10
Ingredients
1 Large sheet ready rolled puff pastry
500 Grams Lean pork mince
50 Grams Breadcrumbs
1 Tbsp Ginger (grated)
2-3 Cloves of garlic (finely chopped)
2-3 Scallions/spring onions (finely sliced)
1/2 Tbsp Sesame oil
1 Tsp Chinese 5 spice powder
1 Tsp Chilli powder
1 Tsp Salt
1 Egg yolk
Sesame seeds (optional)
Method
- Preheat your oven to 180 degrees
- Add the pork, garlic, ginger, breadcrumbs, scallions, spices, and sesame oil to a large bowl and mix with your hands until well combined
- Unroll the puff pastry, and evenly spread the pork mix in an even line down the centre of the pastry
- Brush the long edges of the pastry with egg yolk. Bring the long edges of the pastry together and together by crimping with your fingers or a fork.
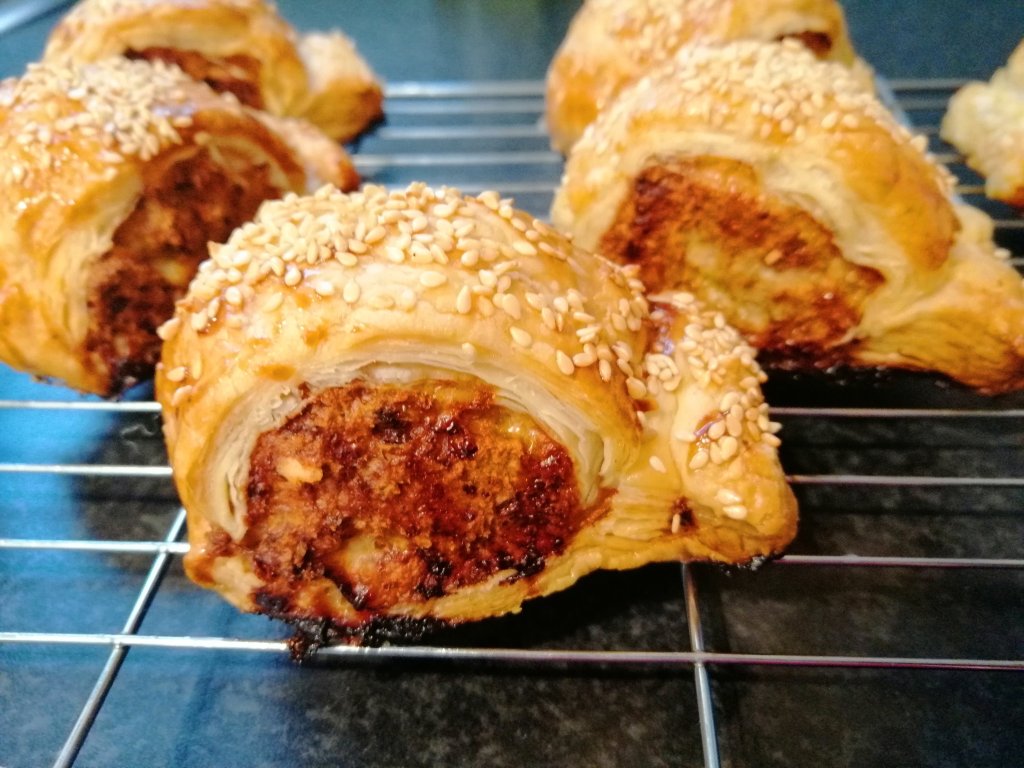
- Brush the long log created with egg yolk (and sprinkle with sesame seeds if you are using them). Divide the long roll into 8 or 10 pieces and transfer to a baking sheet
- Bake for 40 minutes or until the pastry is a deep golden brown