It’s Mother’s day and though she isn’t with us any more, I made my Mum’s signature dish, Pavlova. She wasn’t a fantastic cook, but she made a mean Pavlova. I didn’t ever get her recipe. So if you have a loved one who makes something you adore, remember to spend the time with them and get them to teach you how to make it. Food is one of the best ways to keep a little bit of that person with you.
Meringue has always been my culinary nemisis. I’ve struggled to make a decent one for years and I think I’ve cracked it thanks to the sainted Mary Berry (this is her recipe) .
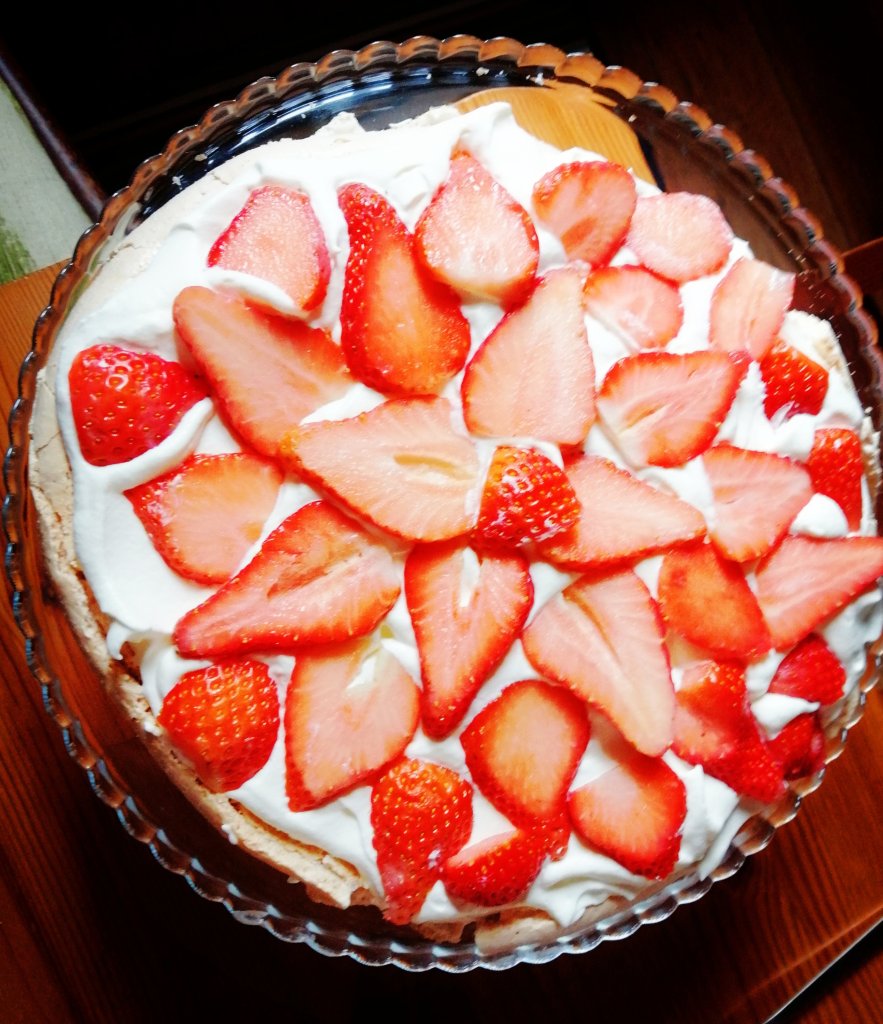
I’ve used the traditional strawberries, but you can use any fruit you prefer.
This is a real crowd plesser, and is also a delicious gluten free dessert. Don’t panic if the meringue cracks, the topping will hide this, and the marshmallowy centre is a nice contrast to the crunchy exterior.
You can make the meringue the day before (keep in an airtight box) and decorate just before serving.
Ingredients
Serves 8
For the meringue
6 Egg whites
350 Grams Sugar
1 Tsp cornflour
1 Tbsp Vinegar
Topping
250 ml Whipping or double cream
Berries or other fruit to decorate
Method
- Pre heat your oven to 150 degrees (Celsius)
- Add your egg whites to the bowl of your mixer and at a high speed until it reaches firm peaks
- Continue mix and add the sugar a spoonful at a time, then add the cornflour and vinegar (which should be mixed together before adding to the meringue mix
- Draw a circle on a sheet of parchment paper and put a small dab of meringue on the corners of a baking sheet before laying the parchment on top (this helps keep it in place)
- Spoon your meringue on the circle you drew on the parchment (I like to keep meringue a quite tall, but you can go for a slightly flatter wider one if you prefer)
- Place in the oven, and lower the heat to 140 degrees, bake for 1 hour, then the oven off and open the oven door slightly. Leave the meringue in the oven until it is entirely cold
- Just before you are due serve, top with whipped cream and strawberries